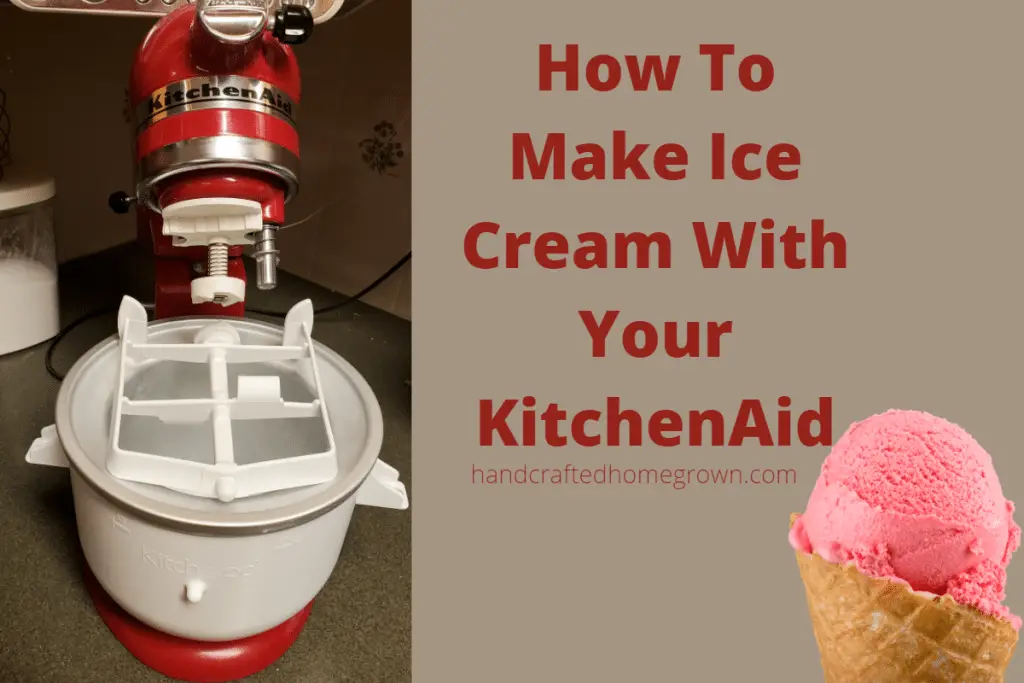
How do I use my KitchenAid Ice Cream Maker?
With warm weather finally making an appearance in here in New York, Ice Cream is back on the menu. I finally took the plunge and purchased an ice cream maker attachment for my KitchenAid and have been using it non-stop! So here are some things I’ve learned about how to make ice cream with my KitchenAid.
You can make ice cream with your KitchenAid with the Ice Cream Maker Attachment. First, you freeze your bowl. Then you make the ice cream mixture. Next, you churn the ice cream in your frozen bowl. Lastly, you freeze the ice cream you churned, then enjoy!
Having a hard time choosing which attachment to purchase or have general questions on how the KitchenAid attachment works? Read on, and I’ll try to cover the basics!
This site is a participant in the Amazon Associates program, as well as other affiliate programs. As an Amazon Associate, I earn from qualifying purchases. This post may contain some affiliate links for your convenience.
Which KitchenAid Ice Cream Maker Attachment to Buy?
When you go to buy an ice cream attachment for your KitchenAid, you’ll find two options on Amazon. The KitchenAid brand ice cream bowl attachment and Kitchood brand ice cream bowl attachment.
I purchased the Kitchood brand ice cream attachment on accident (I intended on buying the name brand). However, I didn’t realize it until it was delivered – I’ve never been a great multi-tasker. The Kitchood brand was about $30 cheaper than the name brand attachment.
The reason I intended on buying the KitchenAid brand, was because I gifted one to my step-mom several years ago, and she’s only had great things to say about it! I did consider returning the off-brand one, but I’m glad I didn’t. I’ve made a few batches of ice cream now and can say I’m really happy with my purchase of the Kitchood. It works really well, and is very similar to the KitchenAid brand. You can see both options below, and I think you’ll be happy with whichever one you choose.
How Does the KitchenAid Ice Cream Maker Attachment Work?
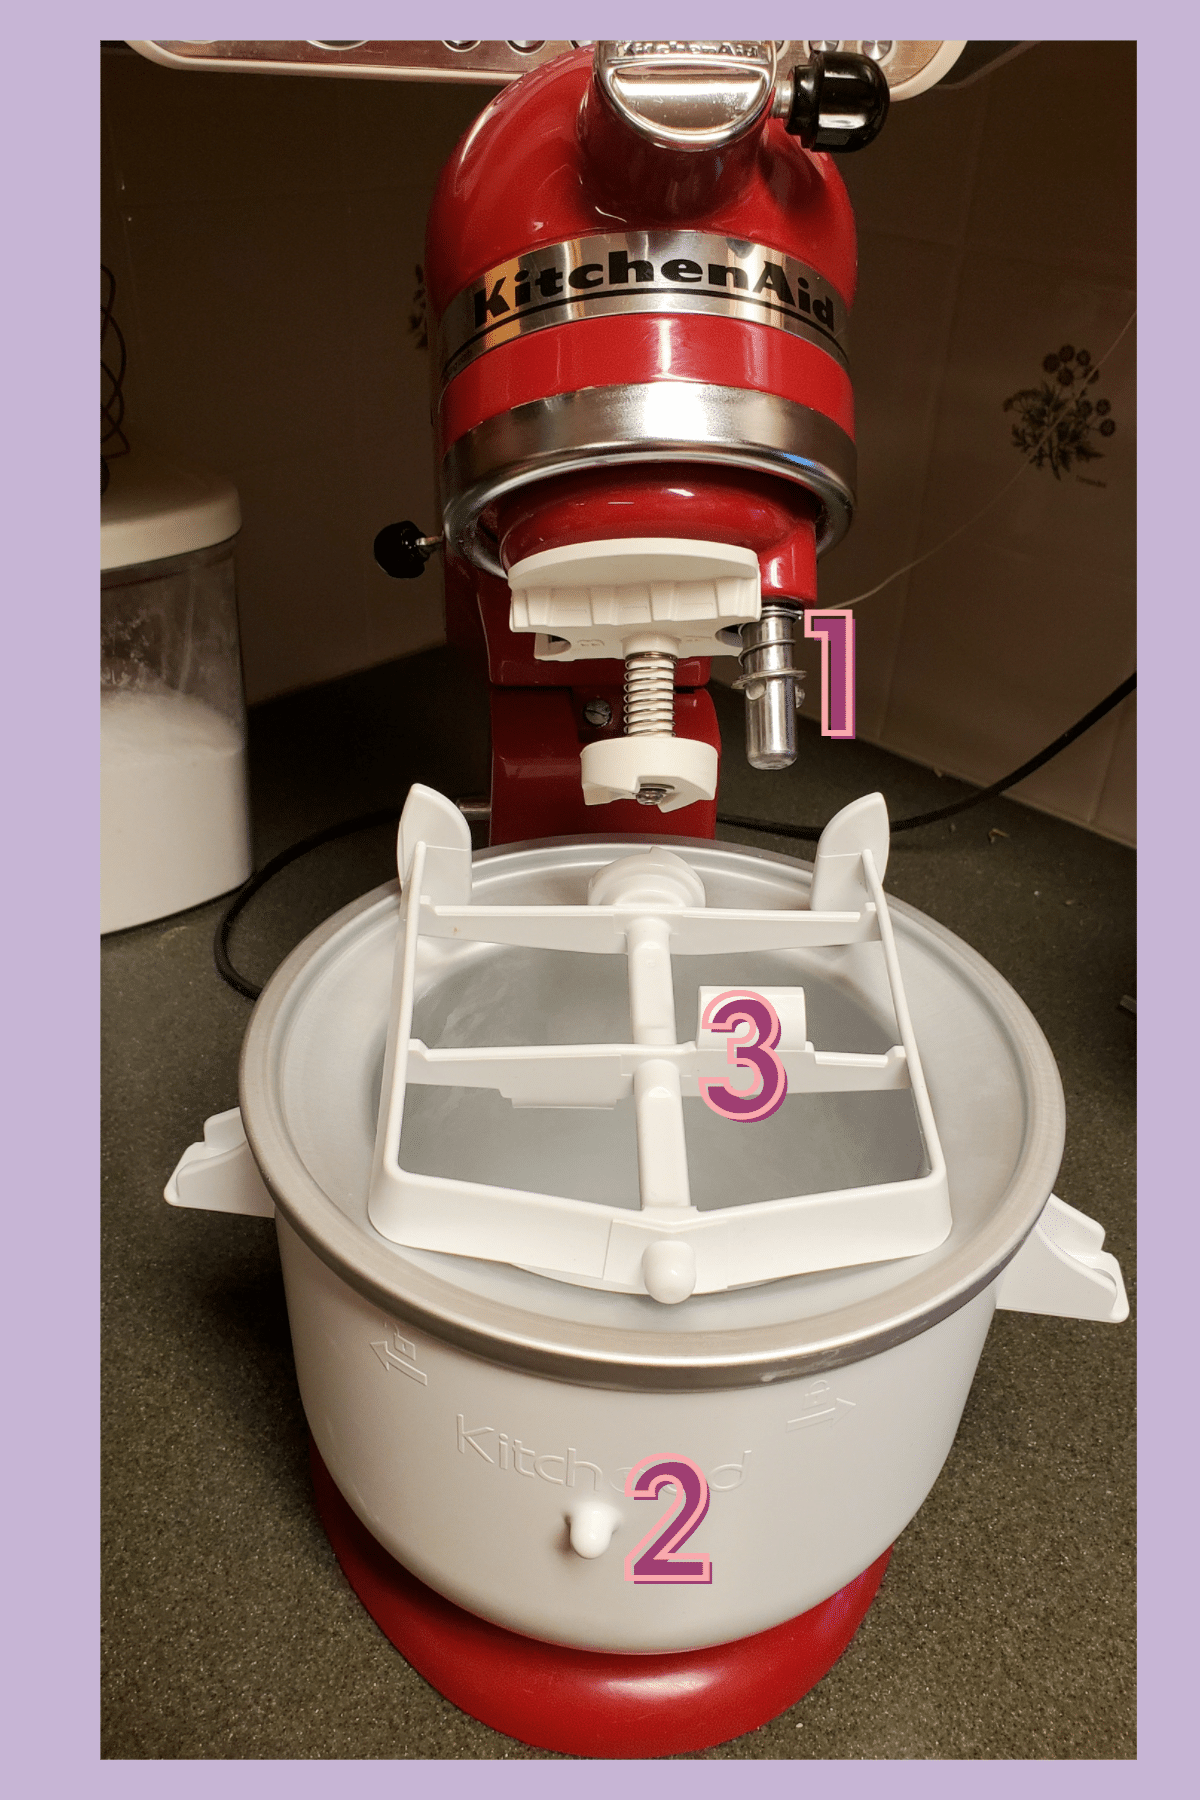
When you get an ice cream attachment for the Kitchen aid, it comes with 3 pieces. It comes with the bowl that you keep in the freezer (number 2 in the photo below), a mixing attachment that looks similar to the paddle (number 3 in the photo below) and a spring like attachment that connects to the actual KitchenAid (number 1 in the photo below).
You will need to freeze the bowl portion of the attachment, it will need to be completely frozen when you’re ready to churn your ice cream.
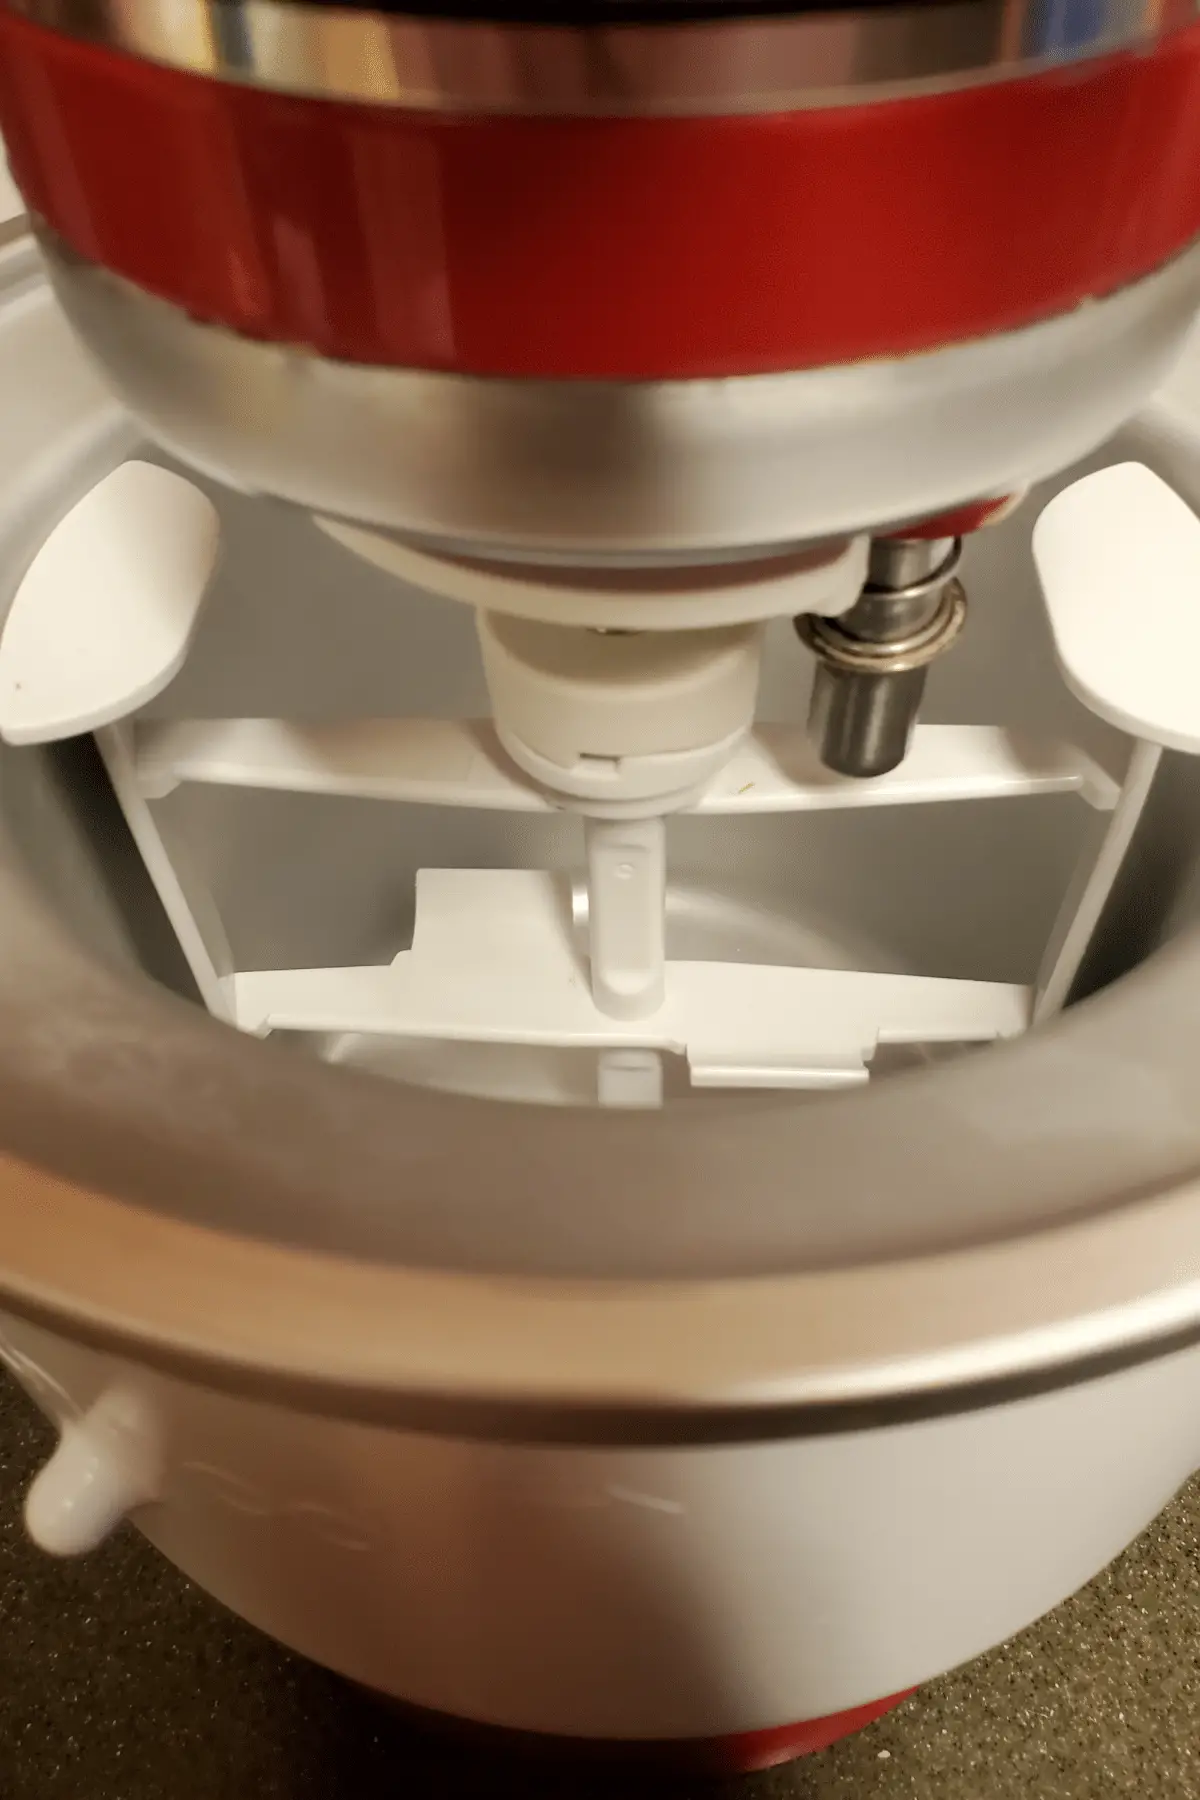
The thing that took me a minute to wrap my brain around, is that you don’t attach the mixing paddle directly to the KitchenAid like you do other attachments. You will put the mixer attachment in the bowl, and it will align/notch up with the spring attachment you attach to the KitchenAid itself. You can see that in the second picture below. When you’re ready to churn the ice cream, you will place your frozen bowl into the base, put the mixing paddle right into the bowl and align it with the corresponding piece on the KitchenAid. You will start the mixer before putting your ice cream into the mixer.
So in short to make ice cream with your KitchenAid:
- Freeze Ice Cream Maker Attachment – at least 24 hours
- Make Ice Cream Base – typically takes 20 minutes, depending on how involved you go!
- Churn in Kitchen Aid for 20-30 minutes (adding any chocolate chips or add-ins about 10 minutes in)
- Freeze for another 6-12 hours (depending on your freezer and how hard you want the Ice Cream)
What KitchenAids are Compatible with the Ice Cream Maker Attachment?
The ice cream attachment is compatible with most 5-6 quart KitchenAid mixers. However, with new models and versions coming out, make sure you check the attachment you’re buying for the versions it compatible with. Especially if you have a mixer that is bigger or smaller than the more commonly seen KitchenAid mixers. The Kitchood states on their Amazon page it fits most models with the exception of the mini.
How Long to Churn In the KitchenAid Ice Cream Maker Attachment?
Most ice cream needs to be churned about 20-30 minutes in the Ice Cream attachment. This can be impacted by a variety of factors, altitude, air temperature, temperature of the bowl. You’ll be looking for a consistency that is thicker than a milk shake but a little softer than soft serve. Typically I am able to pour most of it into the container, but might need to scrape the bottom of the bowl.
What Speed Do you Churn Ice Cream in a KitchenAid?
Generally speaking, when churning ice cream in your KitchenAid you will want to churn at the lowest stir speed. This should be your default speed, and helps produce that creamy texture you’re looking for!
What Can You do With a KitchenAid Ice Cream Maker?
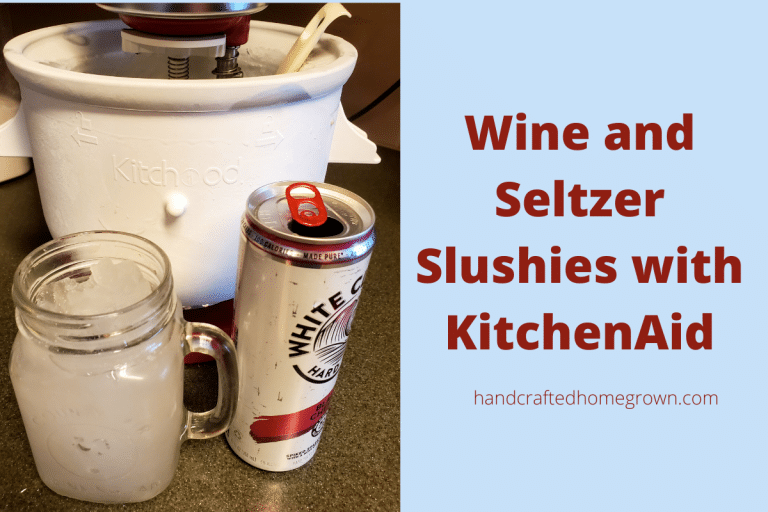
Not only can you make ice cream with your KitchenAid, you can also make sorbet, gelato, frozen yogurt, slushies and more. You can also use the frozen insert as a “cooler” to help keep drinks, smoothies, or other treats frozen. I’ve even seen some people suggesting margaritas and daiquiris in their ice cream makers. I will be trying those out and reporting back…keep an eye out!
When to add Mix-Ins to Your Kitchen Aid Ice Cream Maker Attachment?
To add in delicious mix-ins, add-ons, etc, you don’t put that in right away. Most recipes will give you the details on when you need to add them in. However, I like to add chocolate chips to most recipes, because duh, chocolate! I put them in about 10 minutes
How to Store Ice Cream to Avoid Crystals
If you manage to make your ice cream and not eat it all while its soft right form the ice cream maker – what is the best way to store it? I have found after research and practice, the best way for me is to store in a storage container and place some wax paper directly on top of the ice cream. I press it gently into the ice cream and it creates a barrier which helps avoid those pesky crystals. Then place the lid onto the container before putting into the freezer.
Other Helpful Accessories for Ice Cream Making
- Ice Cream Storage – I purchased these reusable ice cream storage containers. After churning your ice cream we like to freeze it for a more hard ice cream texture. I place a little bit of wax paper over the ice cream to help prevent freezer burn. Its been working out great!
- Ice Cream Scoopers – of course, you’ll need an ice cream scoop!
Wrap Up
If you liked this post, it would mean a lot if you would follow me on Facebook, Pinterest, or Instagram. If you use #handcraftedhomegrown on Instagram, I’ll be watching! 🙂
It would really help me if you pinned this post on Pinterest! Thank you!