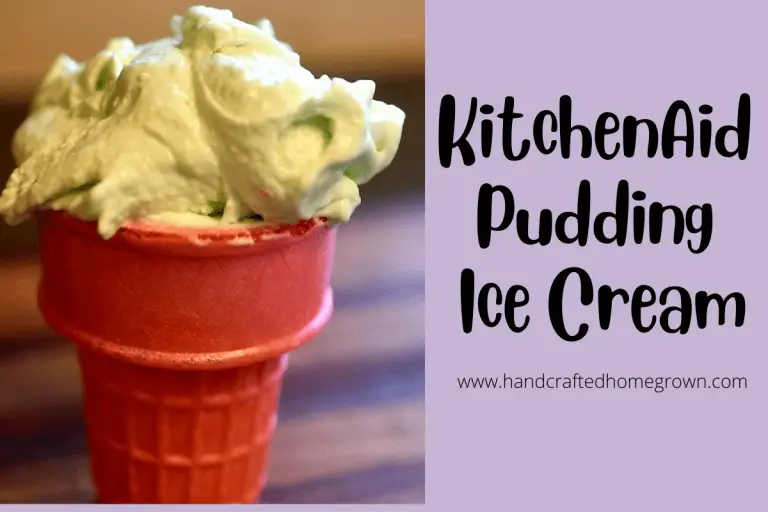
KitchenAid Strawberry Ice Cream Recipe (No Eggs)
With the purchase of a KitchenAid Ice Cream Maker attachment and warm weather returning, I’m trying Ice Cream recipes every weekend. We recently had leftover strawberries on hand that were on the verge of going bad, so I made this KitchenAid Strawberry Ice Cream with no eggs, and it was a hit! Use the jump to recipe button to go right to the recipe card or read through this article on tips and tricks for making this ice cream!
Jump to Recipe
This site is a participant in the Amazon Associates program, as well as other affiliate programs. As an Amazon Associate, I earn from qualifying purchases. This post may contain some affiliate links for your convenience.
Choosing A KitchenAid Ice Cream Attachment
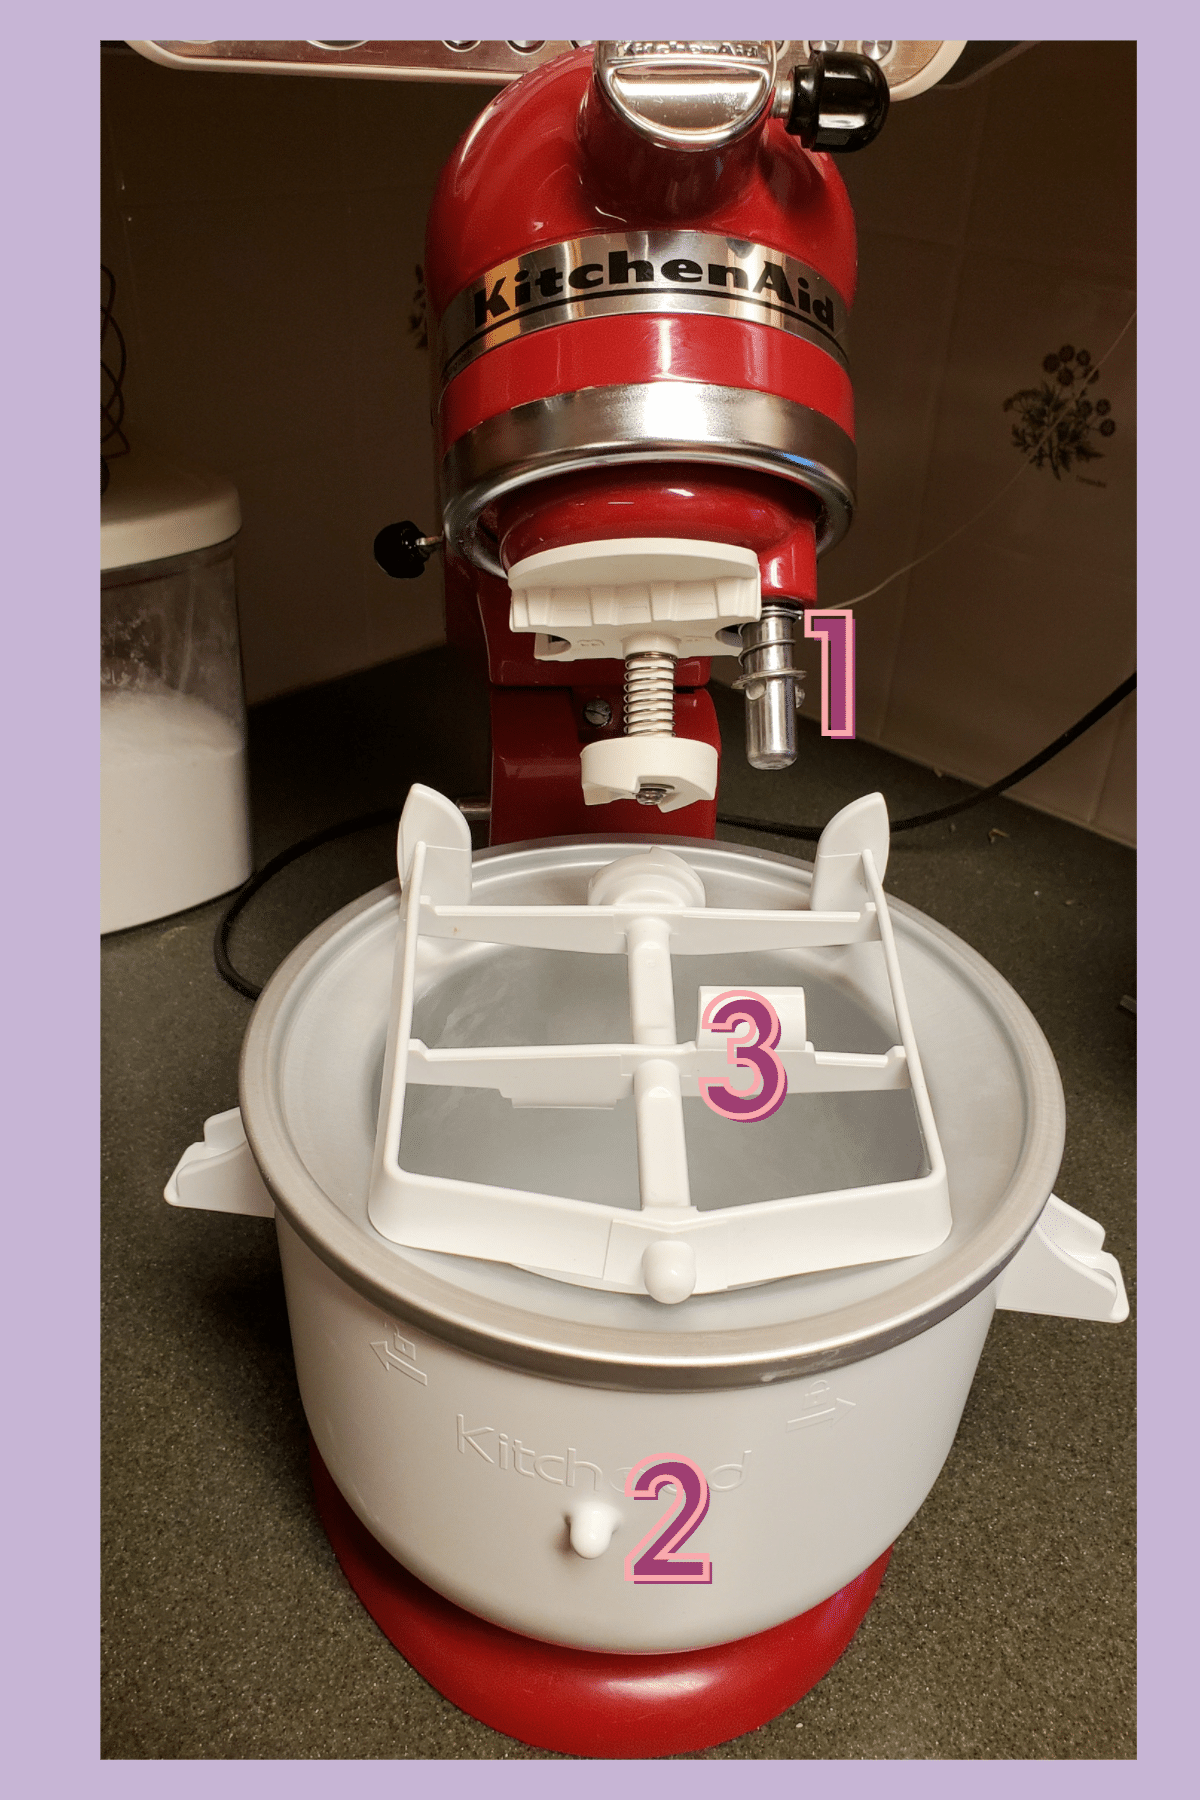
First, to make ice cream with your KitchenAid, you will need an ice cream maker attachment. When searching on Amazon, you’ll find two different brands, the KitchenAid and Kitchood options. I have been using the Kitchood, and I have family that uses the KitchenAid brand. I think with either option – you’ll be happy.
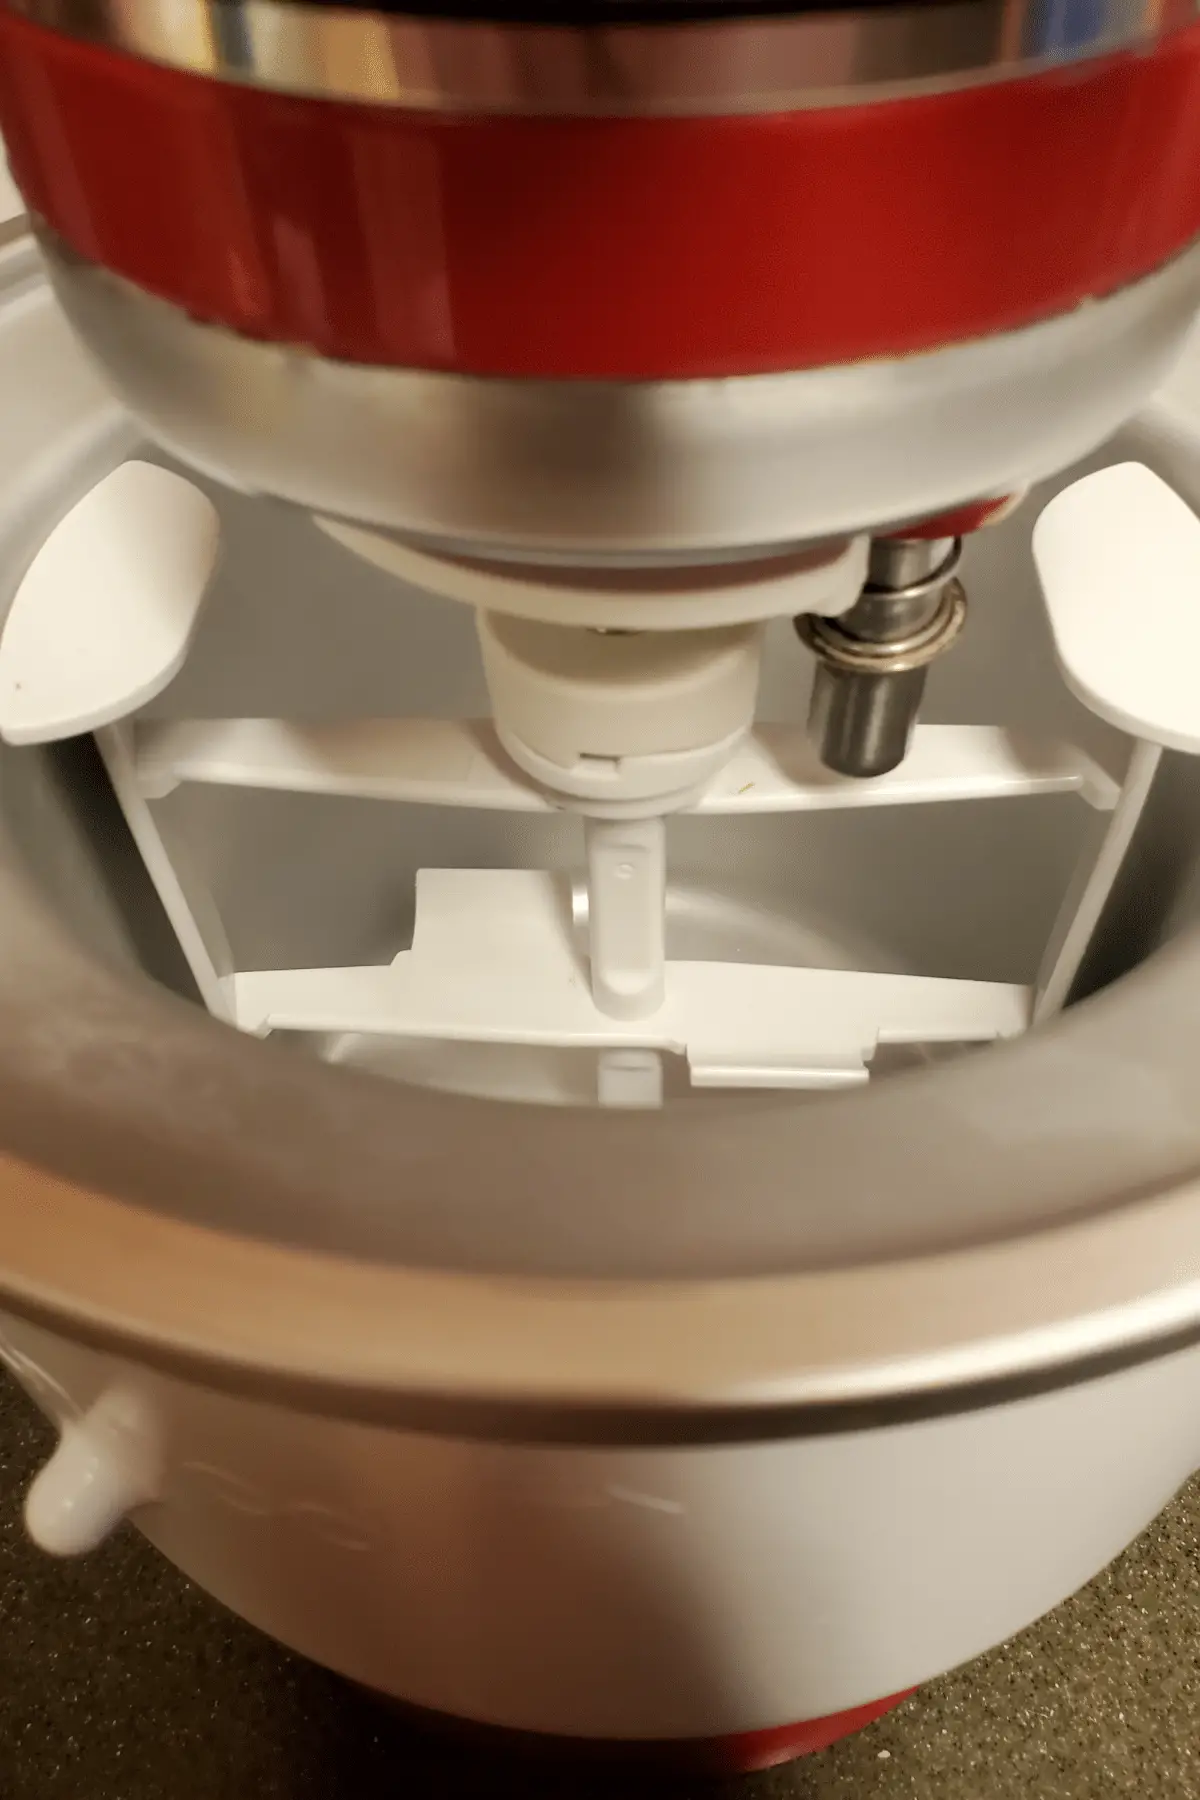
Each version comes with a bowl that you freeze, a mixing portion (that sits in the bowl) and then the piece that attaches to the KitchenAid itself. You can see from the photos below the difference pieces and can check out my article here for more info: How do I use my KitchenAid Ice Cream Maker?
Prepping Ingredients for KitchenAid Strawberry Ice Cream
I’m a big fan of using what I have on hand. On this occasion, I had a little over 2.25 cups of heavy cream, and 2% milk. So that is what I used and it worked out well for me, although slightly less creamy than you get with whole milk. As I’ve made more and more ice cream, I do think sticking with whole milk is the way to go in perfect conditions. But I’m not going to go to the store if I have everything but the whole milk and 2% is sitting in the fridge!
I also pureed strawberries I had on hand that were on the verge of going bad. My husband did say he would have preferred if I did not puree them, but instead mashed them up. However, I am not a fan of chunky ice cream. If you’re good with chunks of strawberry in your ice cream, I think that would be a great option here. It would also save you a step in making strawberry puree.
I did add chocolate chips to this ice cream. I would have preferred the mini-ones, but again, I used what I had on hand. I’m a big fan of chocolate, so it was a natural addition for me. However, you could add white chocolate chips, graham crackers, sprinkles, strawberry chunks or nothing at all! The great thing about making your own ice cream is the freedom to decide what to put in it!
Having trouble with your ice cream freezing, check this out: Ice Cream Not Freezing in KitchenAid
Tips for Storing Ice Cream
After churning ice cream, it will be very soft. You’ll need to freeze it to get that ice cream consistency. If you freeze it for just a few hours, it can be more soft-serve-like. If you freeze it for longer it gets that traditional hard ice cream texture.
When storing your ice cream, it is important to store it in an air-tight container. I use these containers from Amazon. I pour/scrape the ice cream into one of these containers and then place some parchment paper directly on the mixture. I find this helps reduce the number of icy particles from forming.
Tips For Successful Churning of KitchenAid Strawberry Ice Cream
In order to successfully churn your ice cream, there are a few things you can do to add to the success.
- Make sure your ice cream bowl is frozen. Try to put it in the back of your freezer where it is coldest, and make sure you give it enough time to freeze all the way
- Make sure your ice cream base is chilled or at room temperature. On this occasion when I made the ice cream, I did churn my base at room temp. You can do a few things to help chill it though. I do like the top option and use it when my base feels a little warmer than room temp, or if I have the time.
- Place the bowl you have your ice cream base into a large bowl that is filled with ice water
- Refrigerate the ice cream base to chill it prior to churning
- Make sure your ice cream attachment is on and mixing prior to adding in your base. This helps make sure everything freezes evenly and nothing gets freezer burnt
- You might want to use a bowl with some kind of pouring lip in it to help add it into the KitchenAid a little easier. It can be a little clunky pouring that base in.
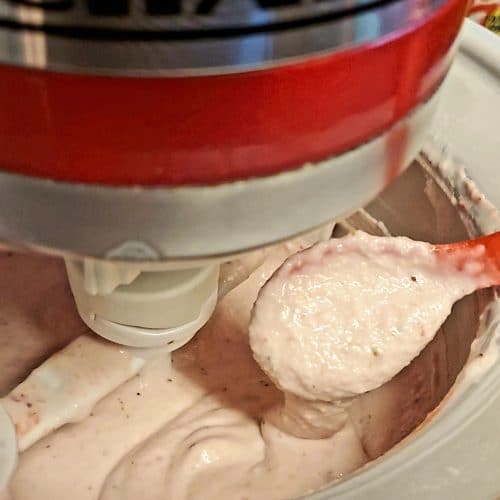
- Make sure you give it enough time, the first few times I was like nothing is happening!! I was tempted to pick up the speed to try to “help”. For the first 10 minutes, it might look like nothing is happening, but if you’ve frozen your bowl and have room temp/chilled ice cream base, it will start to thicken as you can see in the picture above. It will be milkshake consistency (and it is really yummy to eat/drink right out of the freezer bowl!)
Helpful Accessories
As I’ve stated above, I’m a big fan of using what you had, but if you’re looking to make things a bit easier on you, there are a few accessories I like for making ice cream
- A good ice cream scoop. We were using a metal spoon for ages and kind of bending it back into shape after each use! Here on Amazon.
- A good bowl with a pouring spout. Using the ice cream attachment for your KitchenAid can be a bit clunky when adding the mixture in. When I use my bowls without a pouring attachment, I tend to make a bit of a mess. This is nice to have though, you can make what you do without it! Here on Amazon.
- Freezer Safe Container – A must-have is a good container to freeze your ice cream. I didn’t have so I did need to go out and purchase but was able to find this two-pack on Amazon reasonably priced. See on Amazon here.
Wrap Up
If you liked this post, it would mean a lot if you would follow me on Facebook, Pinterest, or Instagram. If you use #handcraftedhomegrown on Instagram, I’ll be watching! 🙂
It would really help me if you pinned this post on Pinterest! Thank you!
KitchenAid Strawberry Ice Cream (no egg)
Ingredients
- 2 ¼ cups heavy cream
- ¾ cups whole milk If you use a lower fat milk, it will become less creamy and more icy.
- 1 ½ cups pureed strawberries I blended up the strawberries I had on hand. You could mash instead of puree, but I don't like chunky ice cream!
- 1 tsp vanilla extract
- ¾ cup white sugar
- ½ – 1 cup chocolate chips optional! Measure with your heart
Instructions
- Freeze ice cream maker bowl attachment for at least 24 hours or according to the instructions that came with your attachment
- Optional – warm milk and sugar in pan on the stove, over low heat just until sugar is dissolved
- Combine all ingredients, except the chocolate chips, in a mixing bowl. Make sure completely combined
- Ensure ice cream base is at minimum room temp or chilled – either by placing in fridge or placing the mixing bowl with the ice cream base into a larger bowl with ice water
- Install/attach ice cream maker attachment, including the frozen bowl, to your KitchenAid based on your instructions
- Turn the KitchenAid to low speed, confirming the mixing attachment is lined up and is properly spinning/churning in your bowl
- As the KitchenAid is on low speed and churning add your ice cream base to the ice cream maker
- Churn ice cream for about 20 minutes, keeping an eye on it. If desired, after 10 minutes, add in chocolate chips while ice cream maker is churning. The consistency should be a little thicker than a milkshake when complete
- Transfer ice cream to a freezer safe container, and freeze for at least 5 hours or until desired consistency.


I used 2 1/2 cups of half and half and 2 cups of strawberries and juice that had been made up for shortcake. OMG,. SOOOO delicious! Thanks for the recipe!
Thank you!!! I’m so glad you liked it!!! I’ve seen so many people viewing the recipe and was hoping people were enjoying it. Thank you so much for coming back and letting me know your experience 🥰