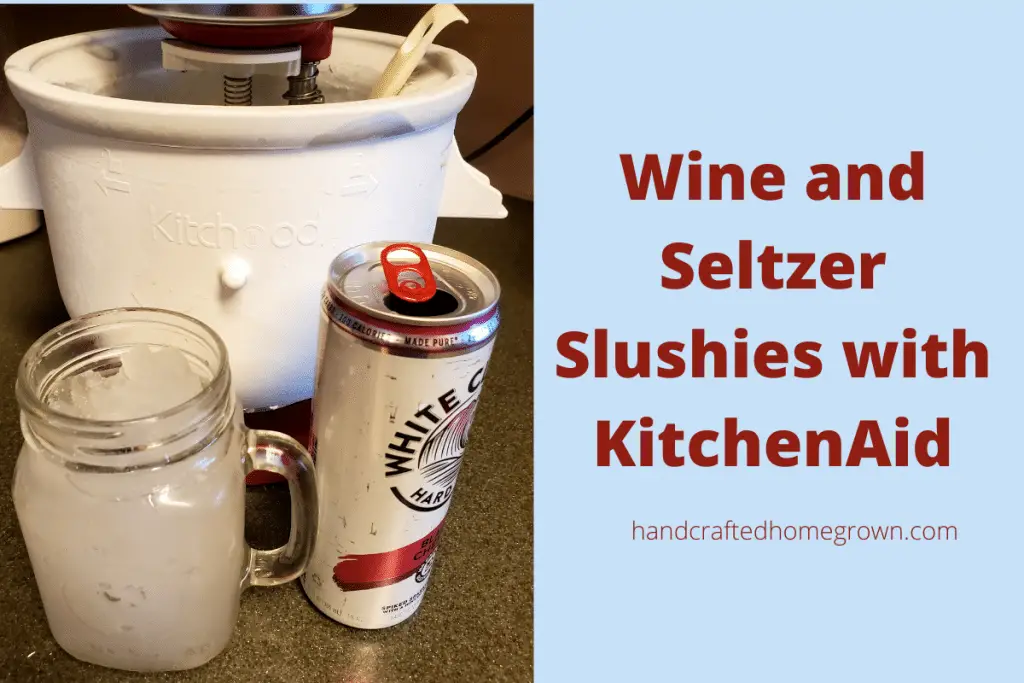
Wine and Seltzer Slushies with KitchenAid
I recently got the ice cream attachment for my KitchenAid. Now I’m on a mission to find all the different ways I can use it. It didn’t take me long to decide it was time to try out making boozy slushies. Today, lets chat on making seltzer and wine slushies with KitchenAid.
To make a wine or seltzer slushy with your KitchenAid first you churn chilled wine or seltzer in your frozen KitchenAid attachment. You can add a simple syrup (sugar water) to help increase the sweetness as desired. Churn to your level of desired slushiness is achieve.
This site is a participant in the Amazon Associates program, as well as other affiliate programs. As an Amazon Associate, I earn from qualifying purchases. This post may contain some affiliate links for your convenience.
How to Make Wine or Seltzer Slushies with KitchenAid
Making wine or seltzer slushies is very simple with your KitchenAid and the ice cream maker attachment.
- Freeze the ice cream mixing bowl for at least 16-24 hours (or whatever your attachment recommends). I use the Kitchood brand attachment – which can be found on Amazon here. I try to place it in the back where it seems to be very cold.
- Select a wine or seltzer that you would like to make into a slushy. Make sure it is also well chilled. I do this by putting in the back of my fridge where things get extra cold!
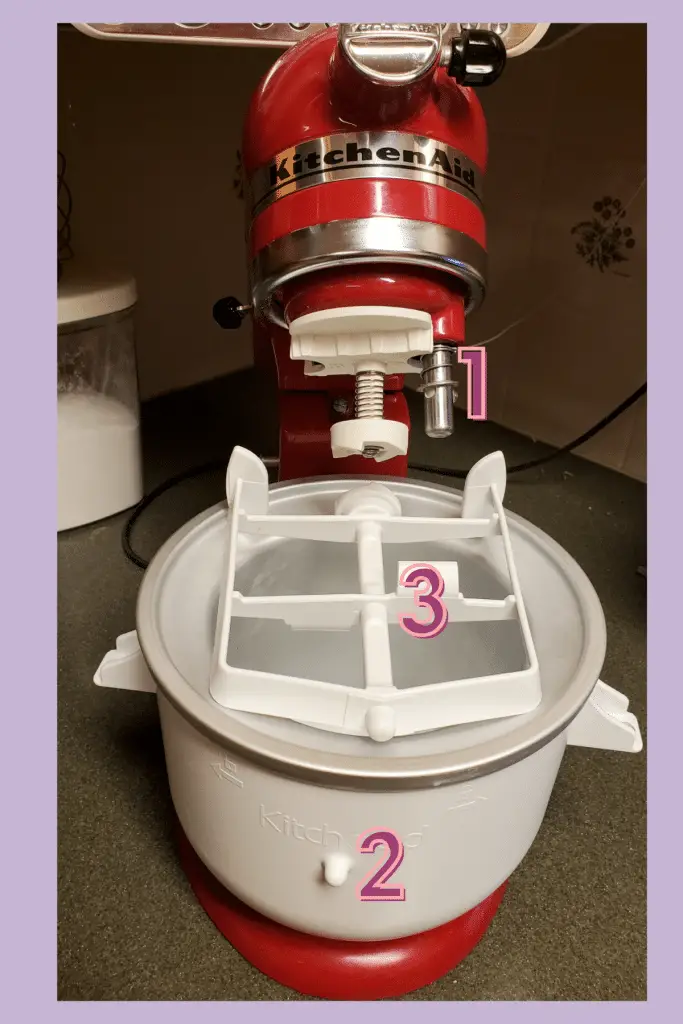
- Once everything is chilled, clip the drive assembly to the KitchenAid (number 1 in picture below). Grab the frozen bowl from the freezer and your mixing attachment (number 3 in picture below)
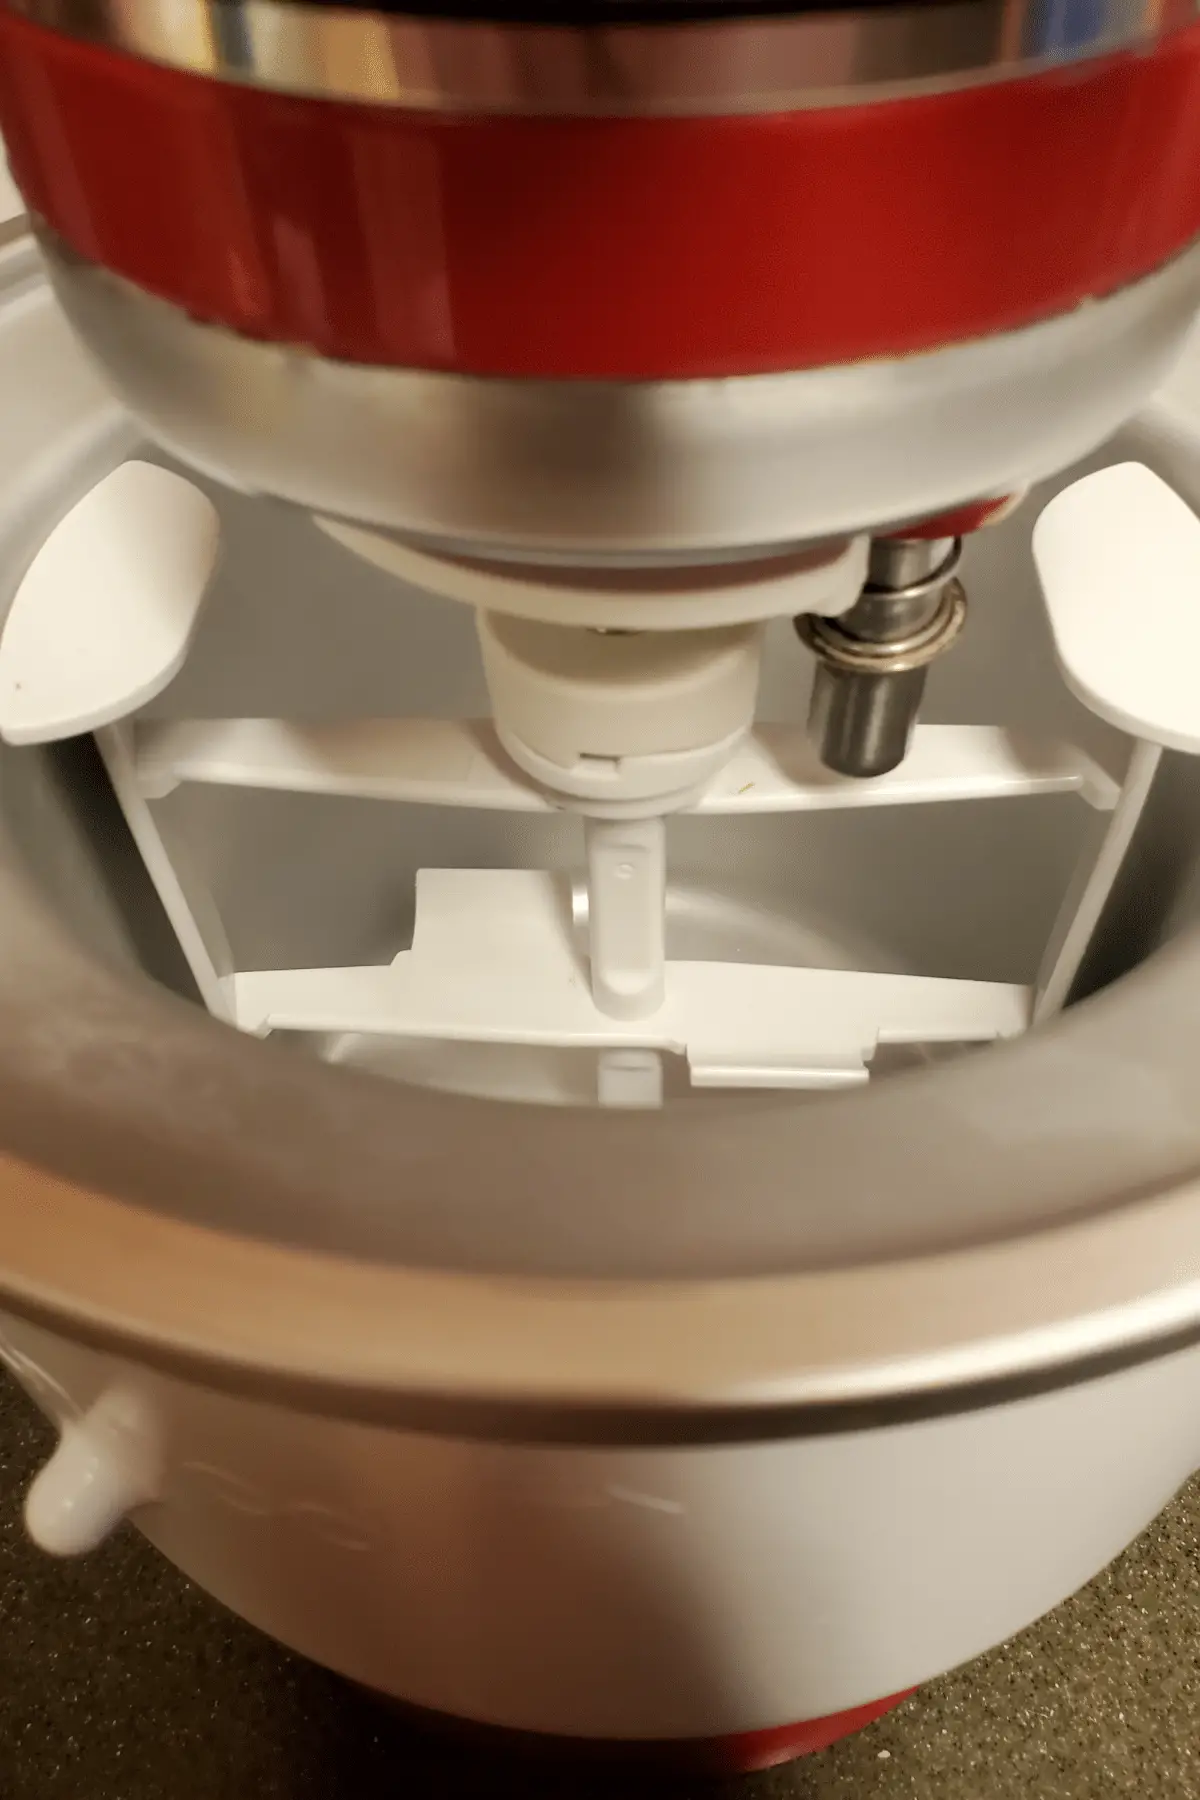
- Start the mixer on low speed, confirming that everything is lined up like in the second photo
- Pour the chilled beverage into the KitchenAid and churn until the desired slushiness texture is achieved
What Wine to use for Wine Slushies
What wine should you use to make wine slushies? Whatever you like to drink! But here are for a few ideas for you:
- Sangria
- Riesling
- Moscato
- Rosé
- Port Wine
I had several bottles of Relax Riesling gifted to me as it used to be my go-to drink until I discovered spiked seltzers. So naturally, that is the wine I chose to make into a slushy. It is not an overly sweet wine. I put about 2 generous glasses of wine into the ice cream maker. It took me about 10 minutes to get to a slushy consistency. It will come down to your personal preferences if you’d like to sweeten up your slushy or not! I talk more about that later.
What Seltzers Make the Best Slushy
When choosing a seltzer to make into a slushy, it should be something you enjoy drinking! I personally am a black cherry seltzer fan. I like White Claw and also the Bud Light Seltzers. There are so many choices on the market now of various seltzers, including teas, sodas and so many different flavors. If you like drinking it out of the can, you’ll probably like drinking it as a slushy.
I put two seltzers into the ice cream attachment and after about 12 minutes I had a nice slushy consistency. It does de-fizz the seltzer, which was just fine. I really enjoyed this and feel like this would be great if you have people over and its a warm day! I think the more you put into the ice cream maker the longer it would take to slushy. Just like a wine slushy, you can choose to sweeten this if you’d like, which I talk about next!
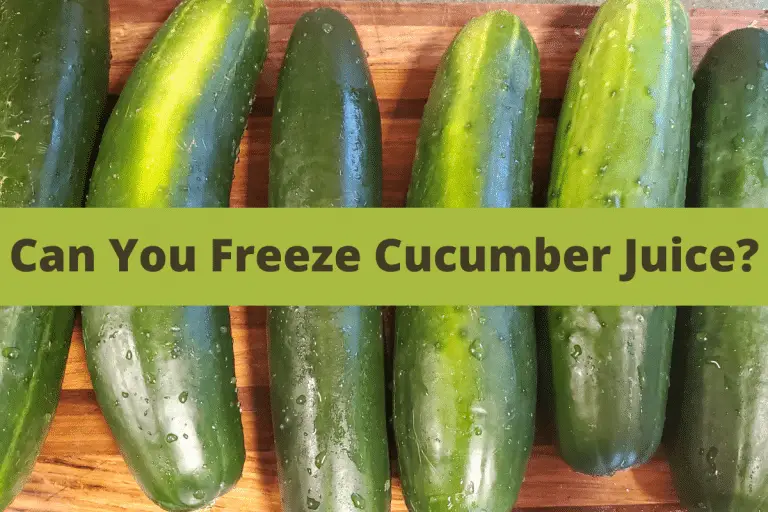
Have you ever tried Cucumber Lemonade? Goes great with rum, and probably would make an excellent slushy!
How to Sweeten a Seltzer or Wine Slushies Made with KitchenAid
There are many options to sweeten up a slushy! Here are a few things you can consider doing:
- Making your own simple syrup. You simply do this by putting equal parts water/sugar into a small pan on the stove. Heat over low heat until the sugar dissolves
- You can buy a cocktail simple syrup like Stirrings Pure Cane Simple Syrup Cocktail Mixer
- You can buy a sugar free cocktail simple syrup such as this Jordan’s Skinny Syrup
- There are also so many different cocktail syrups on Amazon – which you can see here!
What Can you Add to Slushies?
So now you have a slushy, what can you add to make it more fun?!
- Berry Puree – you could puree up some berries and either mix them in while churning or while you’re serving
- You could serve with frozen fruit, a little snack to go with the beverage
- You could mix in fruit juice to your seltzer or wine to use as your sweetener
Accessories for Slushies
When you get into make slushies with your KitchenAid ice cream attachment you might find the following things helpful or just a something to make it a bit more fun!
- Insulated slushy cup – my slushies always melt too fast. This cup from Amazon will help solve this issue!
- Straws – maybe you have the cup, but need the straws. Slushies just don’t taste right when you drink directly from the cup!
Kid-Friendly or Non-Boozy Slushies
If you’re looking for a kid friendly option to make slushies, you basically follow the same steps. Find your favorite beverage that you’d like to make into a slushy and make sure its chilled. Then pour into the ice cream maker as described above until you get to your desired slush state. Some ideas for that would be lemonade, ice tea, sodas, juice, etc. I am actually going to try to slushy up some plain water this summer and add some Icee Syrup we have laying around!
Wrap Up
If you liked this post, it would mean a lot if you would follow me on Facebook, Pinterest, or Instagram. If you use #handcraftedhomegrown on Instagram, I’ll be watching! 🙂
It would really help me if you pinned this post on Pinterest! Thank you!
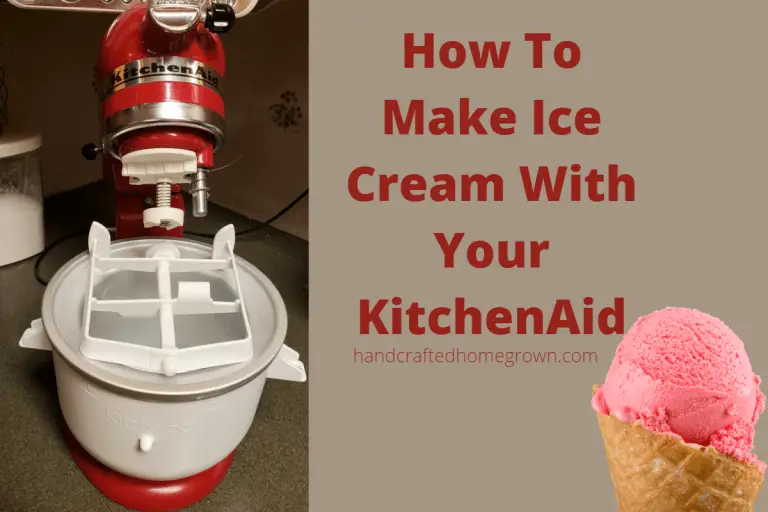
Looking for more info on the KitchenAid Ice cream maker? Check out the this article on how to use it to make Ice Cream: How do I use my KitchenAid Ice Cream Maker?
Or if you’re looking for a Strawberry Ice Cream recipe that uses no eggs – check this out: KitchenAid Strawberry Ice Cream Recipe (No Eggs)