How do you do Appliqué Without Sewing? No Sew Appliqué 101
Have you ever wanted to create a decorative patch or a quilt block without sewing? No sew appliqué may be a perfect solution. Check out the steps below on how to create an appliqué patch with only a few materials and steps!
This site is a participant in the Amazon Associates program, as well as other affiliate programs. As an Amazon Associate, I earn from qualifying purchases. This post may contain some affiliate links for your convenience.
Gather Supplies:
Materials Needed:
- Heat and Bond – Ultra Hold – this is their no sew option
- Clip art or other applique pattern design you’d like to use
- Pencil, Scissors, Fabric & Rulers
Step 1: Finding the Shape
The first thing you want to do is find the shape you want to applique – I think this is the most complicated part, but gets a lot easier with practice.
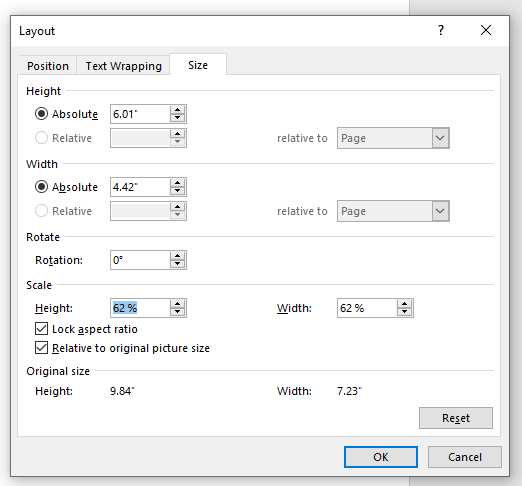
A lot of the shapes above came from a quick google search for “baby shower clip art”. You’re looking for simple shapes that can easily be traced and cut out of fabric (not too small or thin, not too many overlapping pieces, etc. – at least until you’re a little more experienced). For your first try, you may want to start with a simple option, like a a basic shape. For this example, I’m going to use a simple clip art shape that I copied from http://www.clker.com/. The shape I chose is “Flower 33“. I copied and pasted the imagine into Microsoft word. Then I resized the image to be around 6 inches – but this is up to you depending on what your project is. To do this, I right clicked on the image and selected Size and Position:

I then adjusted the Height percentage under scale until the Height at the top of the screen was approx 6 inches.
The last step to preparing your image before you print, is to flip the image horizontally. Using this technique, you need to invert your image before you start – otherwise, it will be backwards. So you flip the image now, and it will come out like the original clip art you selected. I did this in Microsoft Word by selecting my picture, going to the “Picture Format” Menu > Rotate > Flip Horizontally. This is critical if you are doing a letter or another non-symmetrical image where the direction is important!

Now you are ready to print your image and move onto Step 2!
Step 2: Trace onto Heat and Bond and Cut Out
Once you have your image ready to go from Step 1, you’ll need to trace your image onto your Heat and Bond. Cut a piece a little larger than the image you are tracing, and trace away. If there are multiple sections that you want to use different fabrics for, you will need to trace each of them separately. So in my example, I am going to trace the green steam and leaf as one section. The orange flower as a 2nd section. And lastly, I’ll trace the yellow center as a 3rd section. See below. You will trace this onto the smooth, paper side, not the bumpy adhesive side. I have no fancy equipment and just lay the Heat and Bond over the paper and use a pencil to trace.
Once you’re all traced out, cut the images out on the Heat and Bond. Not on the line – give yourself some space! See below.


Step 3: Picking Fabrics and Background
Now you need to pick a fabric for each piece you’ve traced and a background. So in my case I need 4 fabric selections 1) Background 2) Flower 3) Flower Center 4) Steam and leaves. First, cut your background to the size you want. In my example, I will cut my background shape to be 8×8. For the others, you will need a piece of fabric that is the same size or larger as the paper you cut out in Step 2.
Remembering to pick contrasting colors, so that each piece will stand out on its own! I chose a white background, purple flower, yellow center and green steam.
Step 4: Creating Appliqué Pieces
You’ve now made all the hard decisions, and the rest is easy work! You will do nothing with the background fabric you selected in this step – put that aside. You now need to iron the pieces of paper you cut in Step 2, to the WRONG/UGLY side of the fabric you chose in Step 3 using the instructions on the Heat and Bond you purchased. Below, you can see that I’ve ironed each of the pieces of paper from Step 2, to the fabric in Step 3.


Once it is all ironed. You cut each image out on the lines. This is your final appliqué piece!

Step 5: Final Assembly
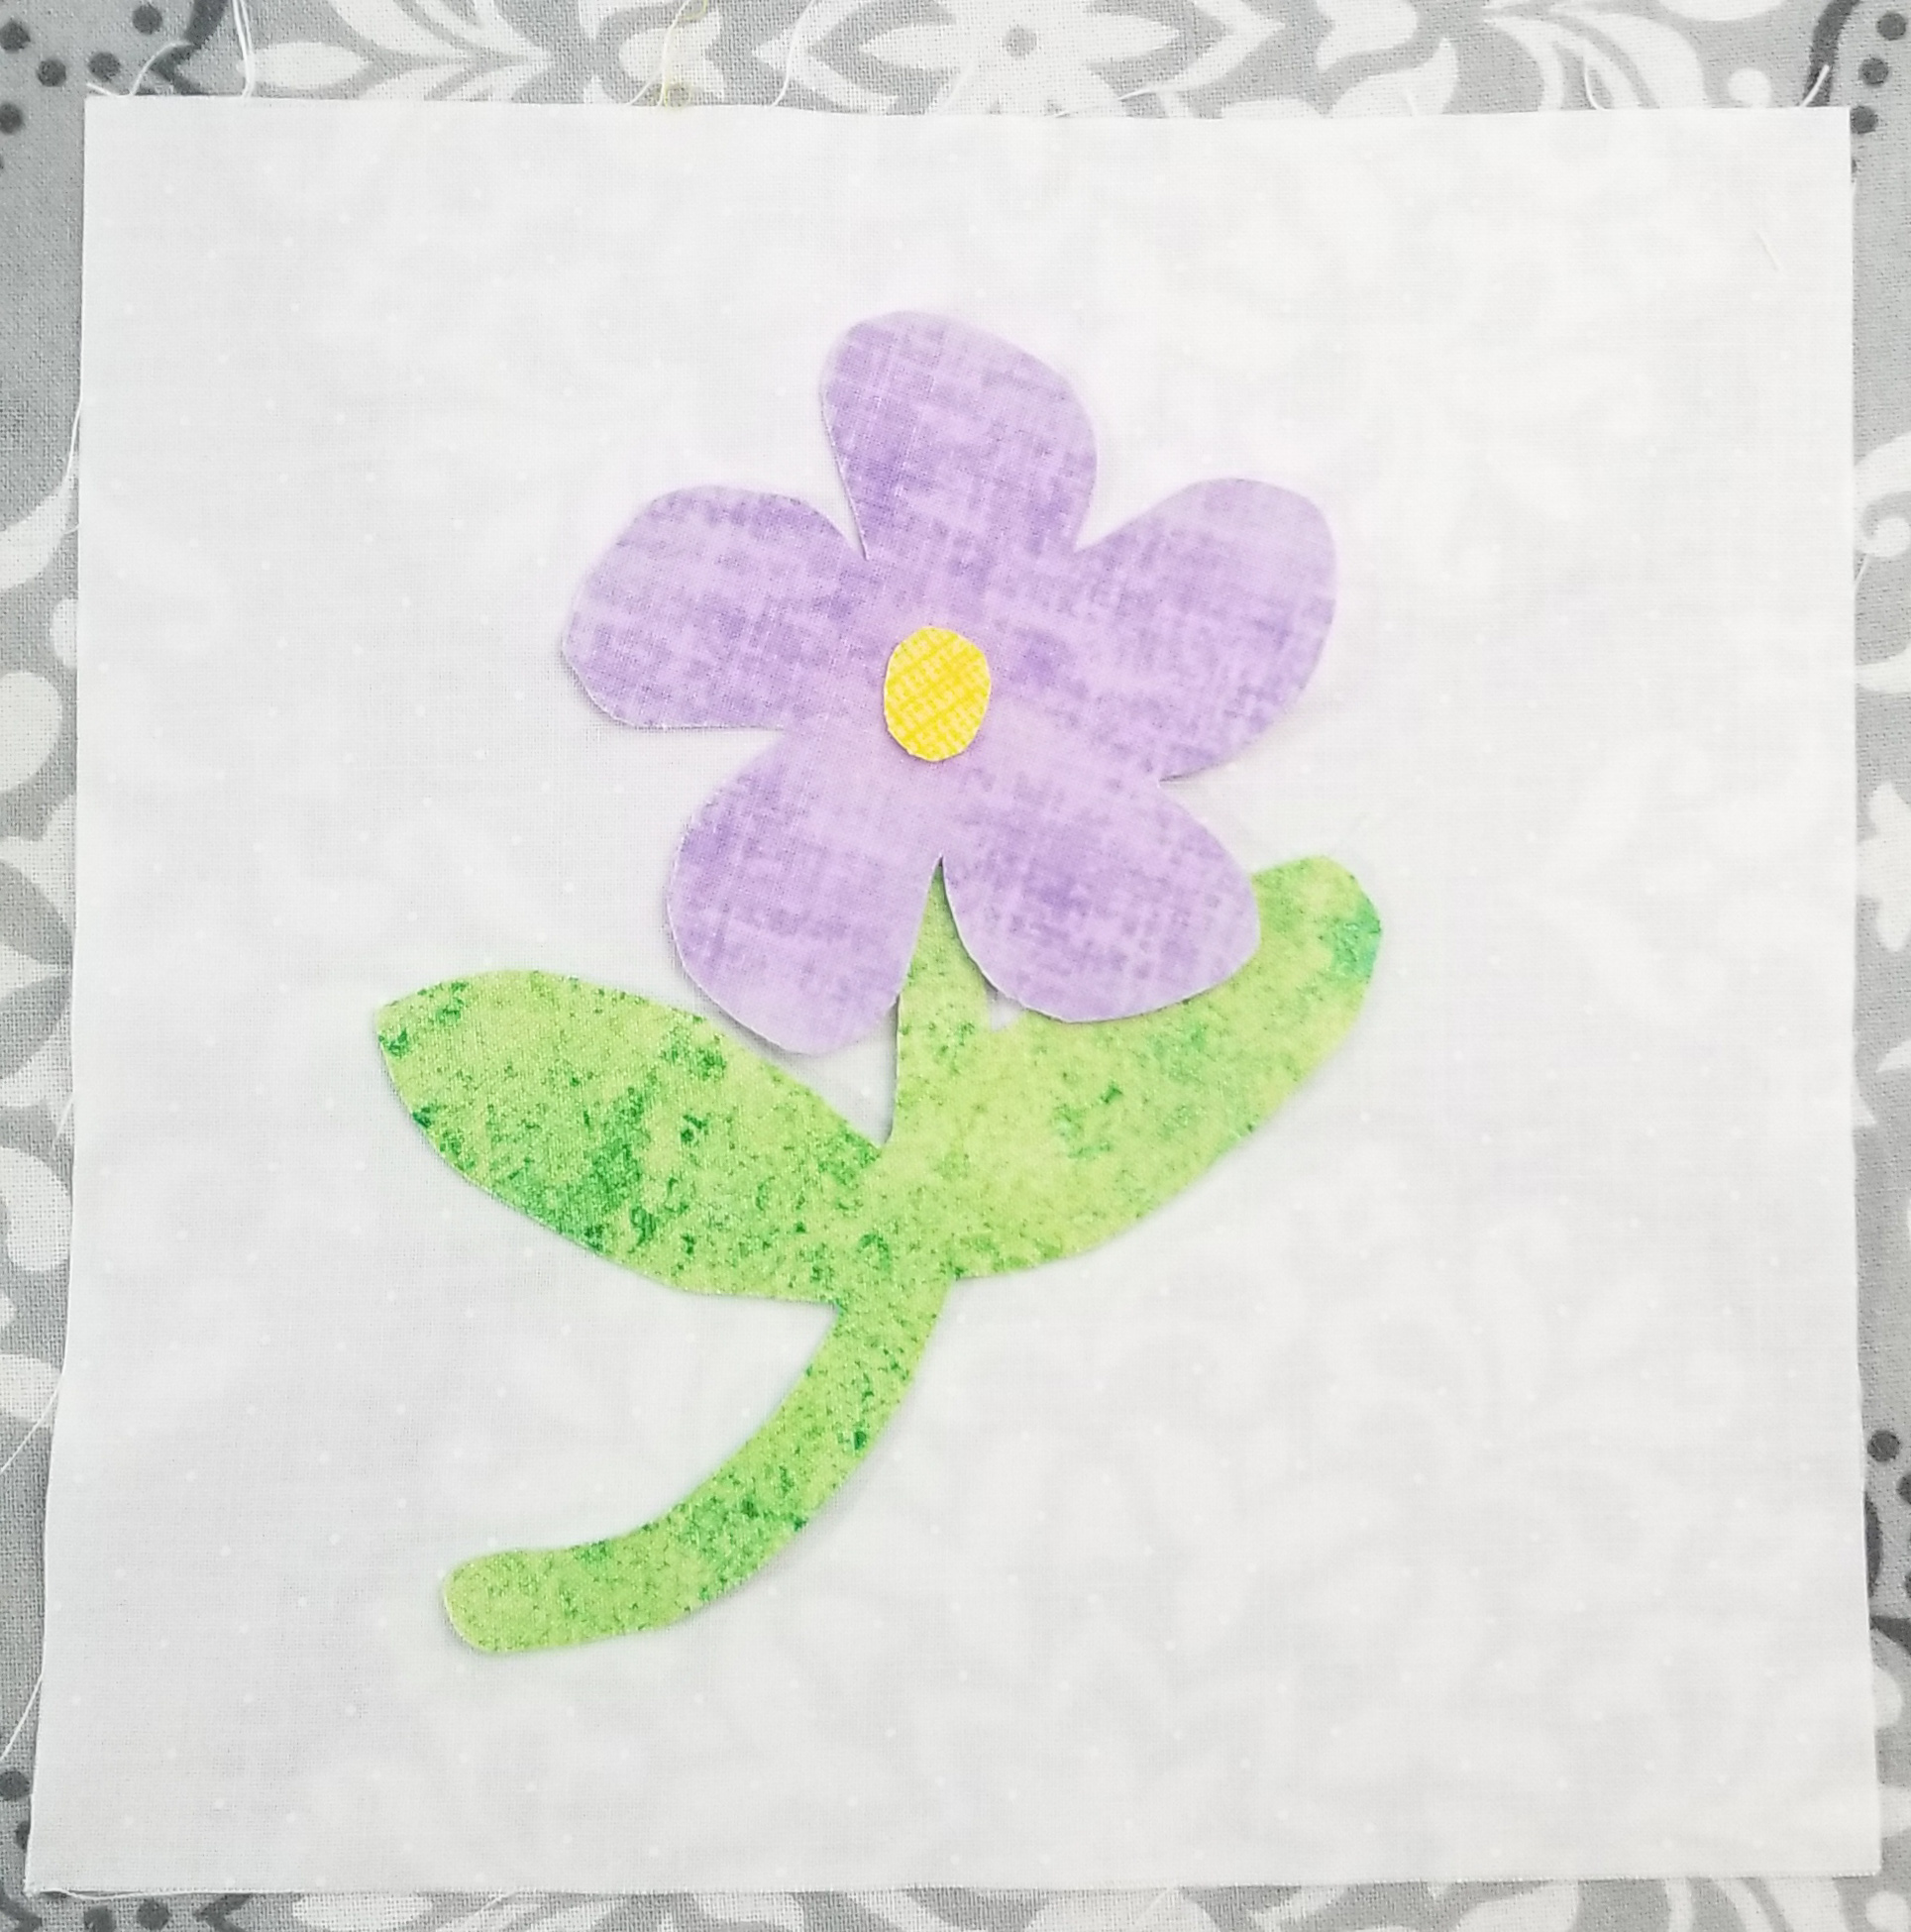
The last step is putting the pieces you just created in Step 4 onto the background fabric. To do this, first I like to lay out each of the pieces on the fabric to make sure I’m happy with my placement and fabric choices. You then start with the pieces on the bottom. In this case, I’m going to do the stem/leaf piece first, because the flower sits slightly on top of it.
Next, the flower itself and finally the center of the flower, since that sits on top of the other pieces. You want to create your base and work up. So once I’m happy, I will move the flower out of the way, and peal the paper off the back of the steam/leaf section. I’ll lay that back down on the background where I like it, and iron onto the background using the instructions on the Heat and Bond. Repeat for all of the pieces you have, and congratulations – you’ve made your block!
Alternatively, the adhesive will not stick until you iron, so you could peel off all the paper for each piece and lay it out and then iron. Just need to be very careful everything stays in place and you iron the correct non-shiny side (the side you peel the paper off is is the glue, so put that on the background fabric. Do not iron that side!). If you want to stitch a nice border along the outside of your pieces, you can do that, but you should buy the sew-able Heat and Bond here.


Summary:
- Have a print out of the image you want – making sure it is inverted and sized properly
- Trace onto Heat and Bond and cut out (not on the line – giving yourself room)
- Select your fabrics and prepare your background piece
- Iron Heat and Bond Cutouts to the WRONG/ugly side of fabric
- Lay out on the background fabric.
- Once happy, remove paper from your pieces and iron onto your background
Wrap Up
If you liked this post, it would mean a lot if you would follow me on Facebook, Pinterest, or Instagram. If you use #handcraftedhomegrown on Instagram, I’ll be watching! 🙂
It would really help me if you pinned this post on Pinterest! Thank you!
Check out some of my other recent crafting projects here: From the Craftroom