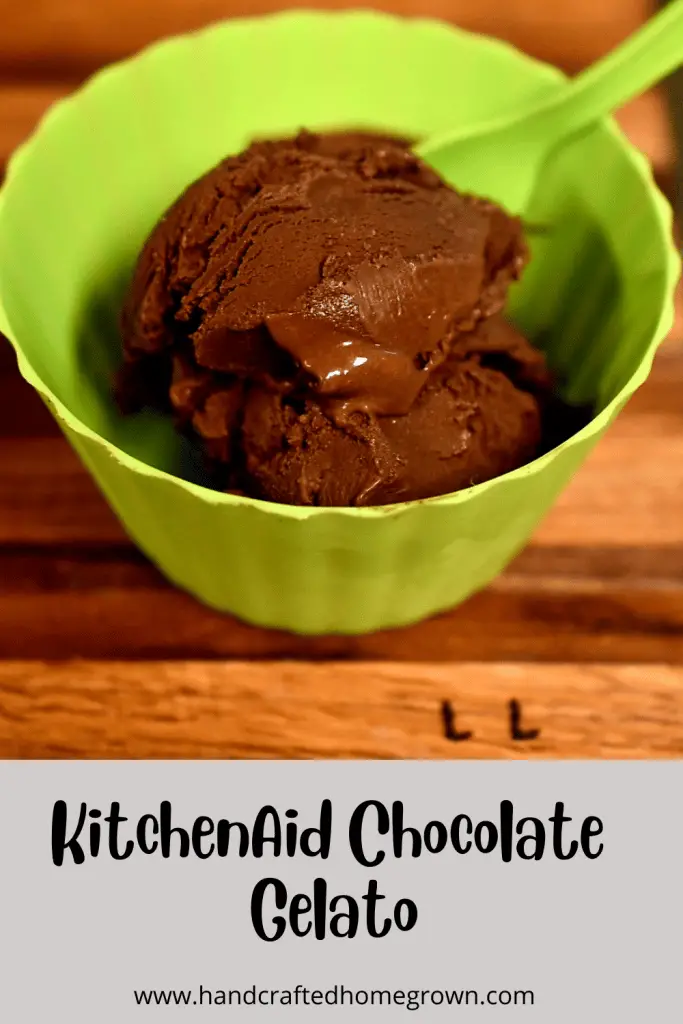
KitchenAid Chocolate Gelato – No Egg
This KitchenAid Chocolate Gelato using cornstarch instead of eggs is so thick and creamy and very delicious. You can skip right to the recipe, but I’ll provide more detail in this post on how to make it and what to expect! And there is a FAQ section below that might answer some questions you have!
This site is a participant in the Amazon Associates program, as well as other affiliate programs. As an Amazon Associate, I earn from qualifying purchases. This post may contain some affiliate links for your convenience.
Equipment & Ingredients
Equipment
There really isn’t much special equipment needed here, aside from the ice cream maker. In my case, I used the KitchenAid Ice Cream Attachment (see on Amazon here). But really any ice cream maker you have will do. Just make sure you freeze the bowl in accordance with the specific requirements of your machine! And you’ll want to make sure you have something air-tight to store your ice cream in the freezer in. I use these reusable containers (click to see on Amazon), and I do like them. But I am also now using some pint-sized containers (click to see on Amazon) like these as well, so I can gift some of the ice creams I’m making.
Ingredients
- Heavy Cream
- Whole Milk
- Cornstarch
- White Sugar
- Unsweetened cocoa – I used Ghirardelli Dutch-processed cocoa
You may also like: KitchenAid Strawberry Ice Cream Recipe (No Eggs)
How to Make KitchenAid Chocolate Gelato
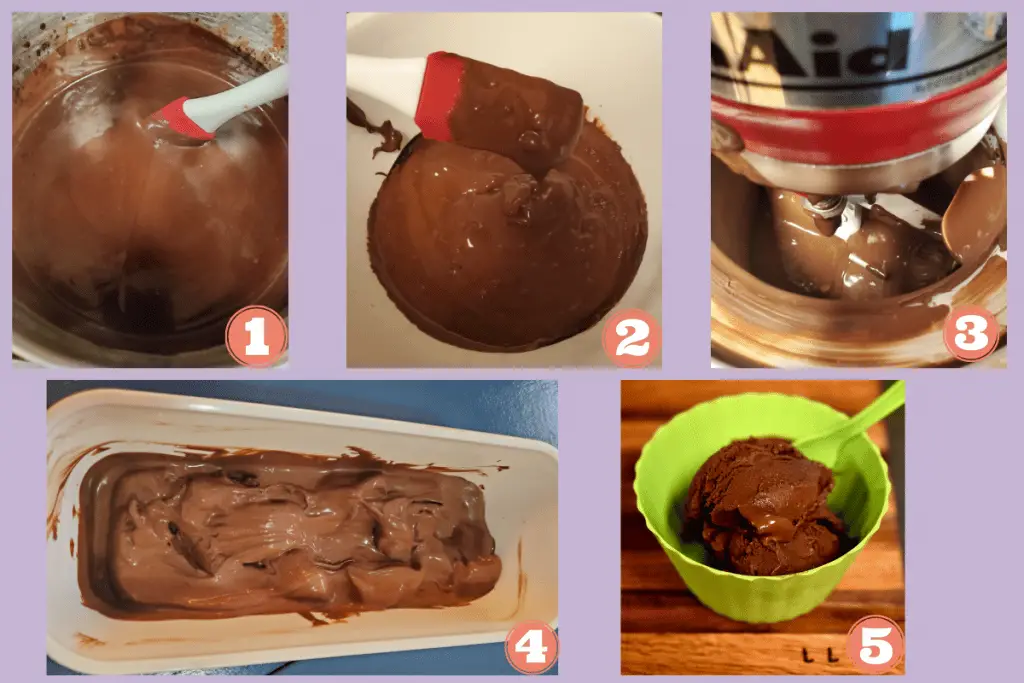
- Combine the heavy cream, 1 cup of milk, and the sugar in a saucepan over low/med heat. While this is heating up, combine the remaining 1/2 cup of milk and cornstarch in a small bowl (I used a coffee cup). Stir the cornstarch until fully dissolved. Once the base is steaming, add cocoa powder until combined. Here is a good spot to taste test, add small amounts of sugar making sure fully combined until happy with the sweetness level. Once you’re happy with the taste, stir in the cornstarch and milk mixture. Cook this for 4-5 minutes until the mixture starts to thicken noticeably.
- Once the mixture is thickened, transfer to a bowl. The mixture actually is thick like pudding (and tastes really good too!) Put plastic wrap over the mixture directly (actually laying on the mixture, so a film doesn’t form) and chill in the refrigerator for 2 hours or up to overnight (whatever fits your schedule)
- Once chilled it’s time to churn. Attach your frozen KitchenAid bowl and mixing attachment to your mixer. Turn on the mixer to the lowest speed. Add your mixture to the KitchenAid. It will be messy, because this is thick and doesn’t pour well. But as long as it gets in there, the clean-up is worth it! Churn for about 13-15 minutes until very thick and creamy. At 15 minutes, mine was so thick it actually stopped the machine. I wish I had stopped a couple of minutes sooner – which is why I’m recommending 13-15 min. However the time will vary based on a lot of factors, so trust your gut!
- If not using a KitchenAid attachment, churn according to your ice cream machine’s instructions. This definitely took less time to churn than typical ice cream for me!
- If you’d like to add anything to this gelato, I’d recommend doing it after 10 minutes of churning – sliced almonds will definitely be making an appearance the next time I make this!
- Transfer the mixture to either your mouth or a storage container if you have the self-control. I store the gelato in a reusable container put also put wax paper directly on the mixture to try to help prevent ice crystals. But as you can see in picture 4 below, this would have been delicious straight away without needing to freeze
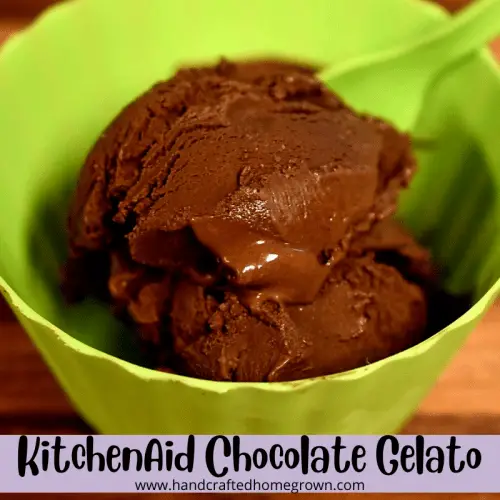
- This freezes solid! I enjoyed this gelato two days after making it (what I didn’t sample when I was storing it away). When I took it out of the freezer my heart sank because I thought it was ruined. It was frozen solid. However, after 35 minutes (yes 35 minutes!!) on the counter, it softened and I could scoop to enjoy. It was so creamy and delicious. Maybe my favorite thing I’ve made so far with this attachment.
You may also like: Wine and Seltzer Slushies with KitchenAid
KitchenAid Chocolate Gelato FAQs
Can I make this without cornstarch?
Yes – you can! I make this exact recipe with no cornstarch to make ice cream. I still slightly warm the milk to dissolve the sugar. Then chill the base and pour it directly into the ice cream maker. This will be less creamy, but still delicious. Just be sure to taste the mixture before adding it to the ice cream maker to make sure you’re happy with the sweetness level! Generally, I churn this mixture for about 20 minutes, so it does take a little longer to churn.
Are there alternatives to cornstarch?
There are alternatives to cornstarch – I’ve seen arrowroot and xanthan gum. I have not yet used either in ice cream yet, but do know many people have. I do plan on trying this in the near future and will report back!
Can I use 2%, 1%, or skim milk?
It is not recommended to not use full-fat milk, but you could. I’ve used 2% when making my strawberry ice cream I’ve used 2%. It does result in a less creamy and more icy consistency. The further you get away from whole milk the more icy the mixture will be. I personally would not use 1% or skim milk, and only use 2% when I was in a pinch!
Can I add mix-ins to this gelato?
Absolutely, the only regret I have from making this gelato was not adding almonds! If you want to add something to the mixture, you should do so after about 10 minutes of churning, so it has a few minutes to incorporate into the mixture before it’s done churning.
You may also like: How do I use my KitchenAid Ice Cream Maker?
Wrap Up
If you liked this post, it would mean a lot if you would follow me on Facebook, Pinterest, or Instagram. If you use #handcraftedhomegrown on Instagram, I’ll be watching! 🙂
It would really help me if you pinned this post on Pinterest! Thank you!
KitchenAid Chocolate Eggless Gelato
Ingredients
- 1½ cups Whole Milk, divided
- 1½ cups Heavy Cream
- 3 tbsp Corn Starch
- ¾ cup Dutch Processed Coco
- ½ cup White Sugar
Instructions
- Freeze ice cream maker bowl according to instructions – usually around 15 hours
- Combine cream and 1 cup of the milk and sugar in a sauce pan over low/med heat until steaming
- While the mixture is heating, combine the remaining ½ cup of milk and corn starch together in a small bowl (I use a coffee cup) until the corn starch is completely dissolved
- When mixture on stove is steaming hot, add in coco powder until combined and smooth
- This is a good place to taste test. Give the mixture a try and if you would like to make it sweeter, start with ¼ sugar and mix until dissolved and taste again!
- Then mix in the corn starch and milk mixture, and cook over low/med heat for 4-5 minutes until mixture is thickening. It will be the consistency of instant pudding after mixed. You will be able to clearly tell its thickening
- Once thickened, remove from heat and transfer to a bowl. Cover with plastic wrap and put the plastic wrap right on the surface of the mixture, so a film won't form
- Refrigerate until chilled, 2 hours or overnight
- Once chilled, put your frozen KitchenAid mixing bowl and mixing attachment onto your KitchenAid and start mixing at the lowest stir speed
- Transfer the gelato mix to the kitchen aid using a spoon, this will be a thick, pudding like mixture. Its a messy job, but it can be done!
- Churn for about 13-15 minutes until very thick and creamy
- Enjoy right away or put into the freezer in a freezer safe container until you're ready to enjoy! If you freeze, it does get very hard. I left at room temperature at 30 minutes and was able to scoop the ice cream that you see in the green bowl in the photo!