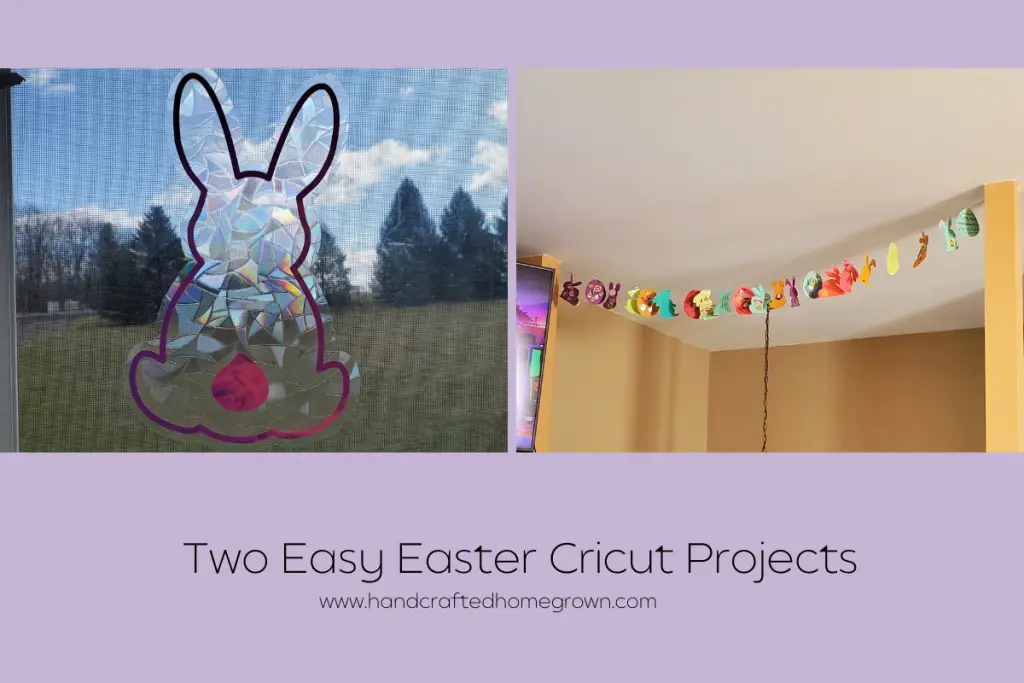
Two Free Easy Easter Cricut Projects
Today I’m sharing two easy Easter Cricut projects. Both using projects I created and are free in Cricut Design Space (Cricut Access not needed)!
This site is a participant in the Amazon Associates program, as well as other affiliate programs. As an Amazon Associate, I earn from qualifying purchases. This post may contain some affiliate links for your convenience.
Easter Window Cling (Bunny + Egg)
Our first easy Easter Cricut project uses window cling and holographic vinyl to create a reusable window cling. You cut out the bunny or egg background in the window cling and then cut out the details from the holographic vinyl. You use transfer paper to combine the two. Material list and step by step instructions below.
Test Cuts
As a tip, you might want to cut small pieces of the holographic vinyl and the window cling to do test cuts to figure out the best settings. The way I typically do this is by cutting a small star out of the material to make sure my settings are doing a good job. I’ve wasted a lot of materials by not doing test cuts. I completely recommend you doing this, because even though certain settings work for me, the sharpness of your blade and the stickiness of your mat can play a big part are huge factors that can’t be replicated.
Materials Used in Easter Bunny + Easter Egg Window Cling
- Rainbow Window Cling
- Hollographic Vinyl
- Transfer Paper
- Cricut SVGs – found for free in Cricut Design Space here.
- Miscellaneous Cricut Tools
- Cricut Maker and Cricut Mats
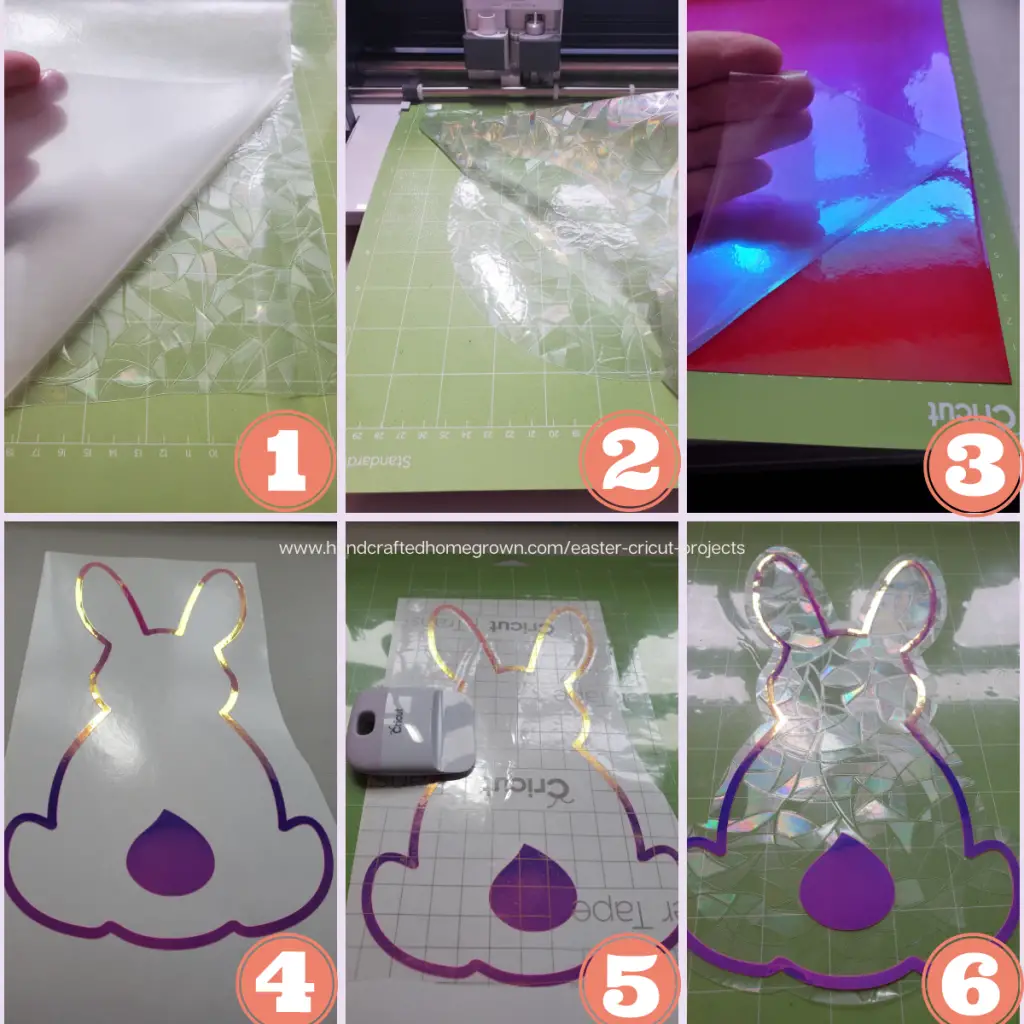
Steps to Make Easter Bunny + Easter Egg Window Cling
I tried to line up the steps below with the pictures below. So, for step one, see photo one. And please consider a test cut before moving on. See above.
- First cut to size some rainbow window cling. I tried to get 12 x 12, but you can see mine wasn’t perfect. Then put the textured side down onto the sticky mat. You can then peel the protective layer off the window cling. This is the side that you will be sticking to the window.
- Using the project in design space cut out the background egg or bunny. I labeled these layers as window cling (which you should be able to see on your canvas). These layers are also the pink layers. It’s the solid bunny and the solid egg, not the details. The details will be made out of the vinyl. To cut this, I used the regular blade and the setting plastic canvas, and did the cut twice by pressing the “Cricut Go” button twice before removing my mat, but again, highly recommend a test cut as noted above!
- Tip – before pushing the arrow button to remove your mat after the first cut, try to peel back the cling like in picture two. If the cut was not clean, put the cling back down and press the Cricut Go button again. This will redo the cut precisely. But if you use the arrows and take the mat off, you will not be able to re-cut it.
- Now that you’ve got the egg cut, it is time to cut the vinyl for the details (the Easter egg dots or the bunny tail and outline). The holographic vinyl I used has a protective cover. So similar to the window cling, I put the holographic vinyl back side down. Then peeled off the protective layer. I selected the holographic vinyl as the material and used more pressure. I did need to run it twice before it would cleanly weed.
- After I cut the vinyl, I take it off my mat, and use scissors to cut a rectange around the egg dots or bunny, reducing wasted vinyl. You can also do this in step 3 by cutting down the vinyl to the size you need prior to cutting. This is preference. Then weed out the background and the inside of the bunny. If you have a use for it, you will have the cutest bunny you weed out of the middle. But then your vinyl should look like the picture in #4.
- This step is the most frustrating, I’m not going to lie. I used some choice words here. Using transfer paper get the vinyl onto the window cling you cut in step 1-2. You will be putting the vinyl onto the textured side of the cling (not the smooth side that touches the window).
- Once you get the vinyl onto the transfer paper, put it onto the window cling. You’ll have to eyeball the outline, leaving you a little gap around the outside. I was better at this than with the eggs, but they are homemade, so you can’t expect perfection! It adds character! 🙂
You then can stick your window cling to the window using the manufacturer’s instructions. In my case, just a light spray of water and the window cling stuck super easily! They have been up for about a week with no issues. When the light hits it just right it projects a rainbow (although sunshine hasn’t been abundant here in New York in March) which my kids have really enjoyed! They also loved the next easy easter cricut project – an Easter Banner!
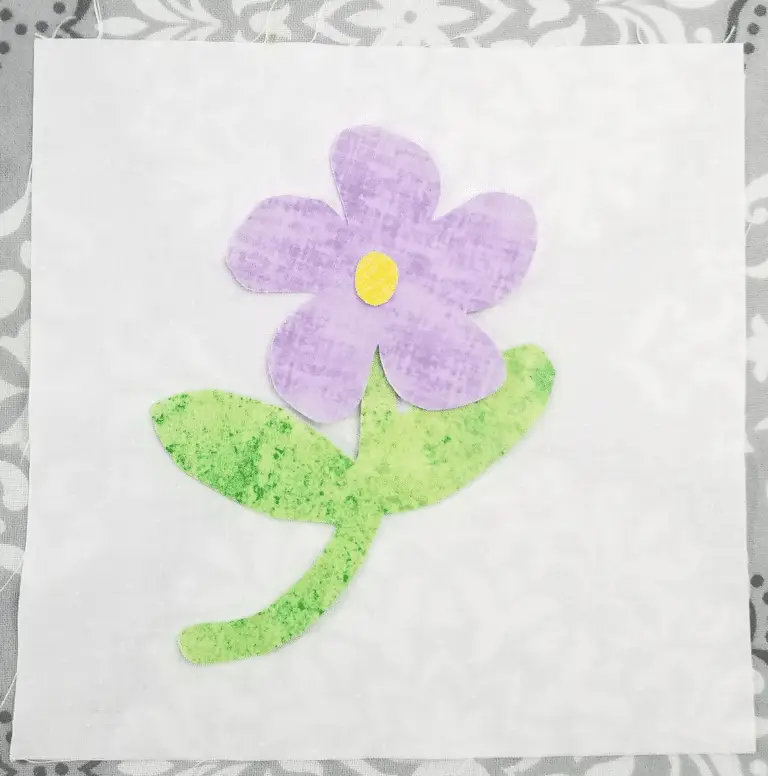
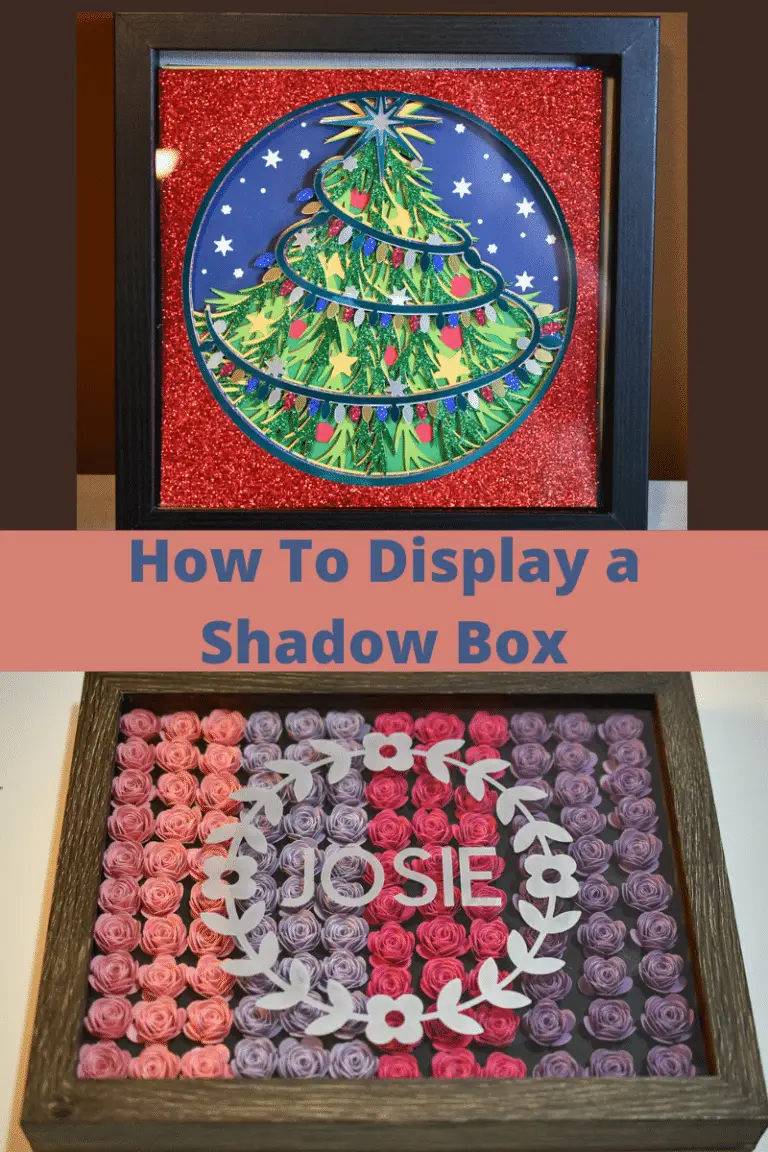
You Might Also Like: How to Make a Paper Flower Shadow Box
Easter Bunny & Egg Banner (Great Project for Kids)
The second of our two easy Easter Cricut crafts is a Bunny & Egg Banner. The whole family got involved in decorating the eggs with crayons and stickers. But there are endless possibilities of how kids could decorate these bunnies and eggs.
Materials I Used in Easter Banner
- Cardstock
- Stickers (optional)
- Scrap of Yarn to Hang
- Cricut SVGs – found for free in Cricut Design Space here.
- Cricut Pens (optional)
- Miscellaneous Cricut Tools
- Cricut Maker and Cricut Mats
Steps to Make Easter Banner
- I do always recommend test cuts if you are not sure the settings you should use on your machine. I do this by cutting a star. With cardstock, I generally use cardstock as the material and use more pressure, and it works for me. But depending on the stickiness of the mat and the sharpness of your blade, you might need to tweak.
- Open the project in Cricut Design Space by clicking here. You can either customize this or go right to making it! This works great with 12 x 12 cardstock.
- Cut as many sets on as many colors as you’d like. The design does call for using a pen to draw a tail on. If you don’t want to do this, you can edit the design, or just don’t put a pen into your machine.
- Have the kids use whatever you have, including stickers, crayons, markers, paint, to decorate.
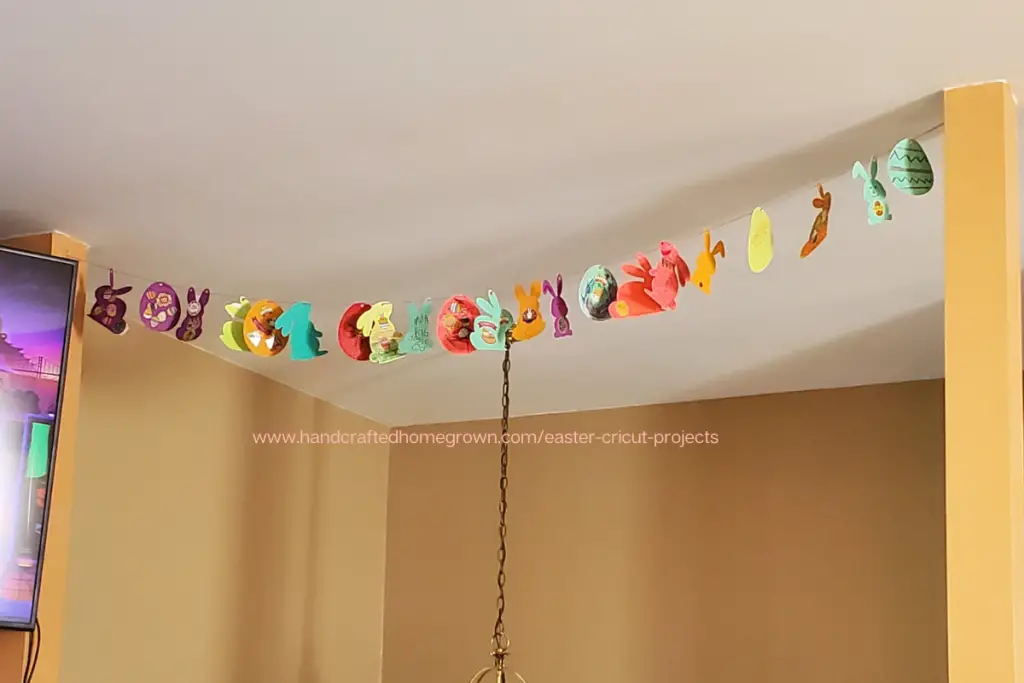
- Grab some left-over twine or yarn and string the eggs and bunnies and hang on the wall. We used little command hooks, but you could also just use tape!
My kids really enjoyed decorating their cardstock bunnies and eggs. Even the husband sat down and colored a few. This is a quick project that was family approved!
Wrap Up – Easy Easter Cricut Projects
If you liked this post, it would mean a lot if you would follow me on Facebook, Pinterest, or Instagram. If you use #handcraftedhomegrown on Instagram, I’ll be watching! 🙂
It would really help me if you pinned this post on Pinterest! Thank you!