Easy Wood Burning DIY Christmas Ornament
This is a very easy wood burning DIY project for Christmas Ornaments. All you need is a few items and a heat gun, and the possibilities are endless. This is a great wood burning idea for a beginner, due to how simple and quick it is!

Items Needed for Wood Burning the Christmas Ornament
This post contains some affiliate links for your convenience (therefore, because I am an amazon associate, if you make a purchase after clicking a link I will earn a small commission at no additional cost to you).
Products linked below are items I use for my ornaments.
Blank Wooden Ornaments
- Wood Ornaments
- Aluminum Chloride
- Food thickener
- Paint Brush
- Stencil (optional)
- Heat Gun
- Glitter Mod Podge (Optional)
Mixing The Aluminum Chloride Solution
The first step in create an easy wood burning DIY Christmas ornament, is mixing up the solution that will be applied to the wood, because the thickener needs time to set up.
Note: Aluminum Chloride is a chemical, the container says to avoid contact with eyes, skin, etc. – so take proper safety precautions as needed.
- Add 1 tablespoon of aluminum chloride to an empty bowl
- Add 1 scoop of the food thickener to the same bowl
- This really ends up a preference, I’ve seen people use a lot more thickener, but this worked fine for me
- Add 1/2 cup of warm water to the mixture, mix it up and let it set up to thicken
Applying Solution to Wooden Ornament for Wood Burning
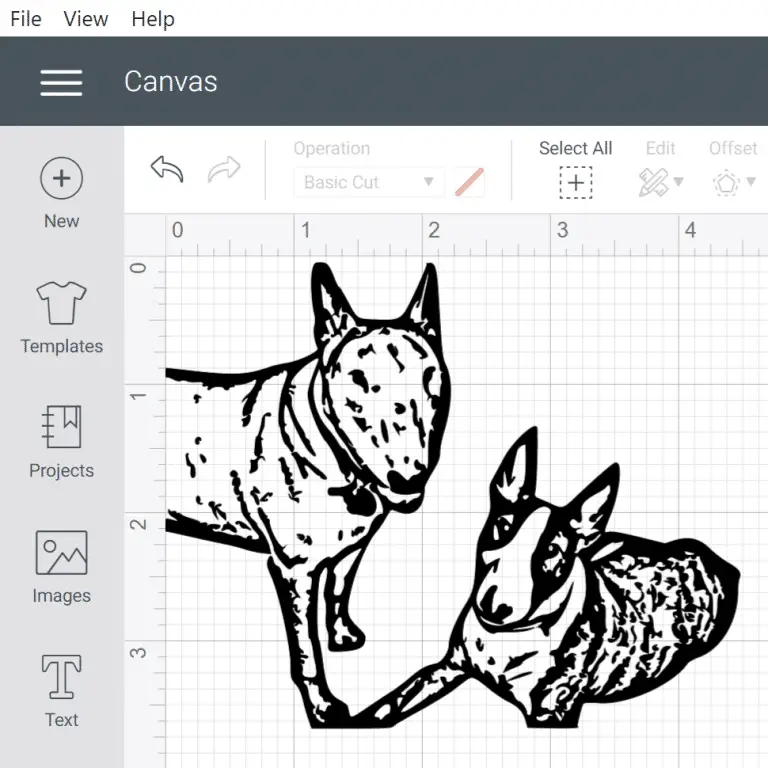
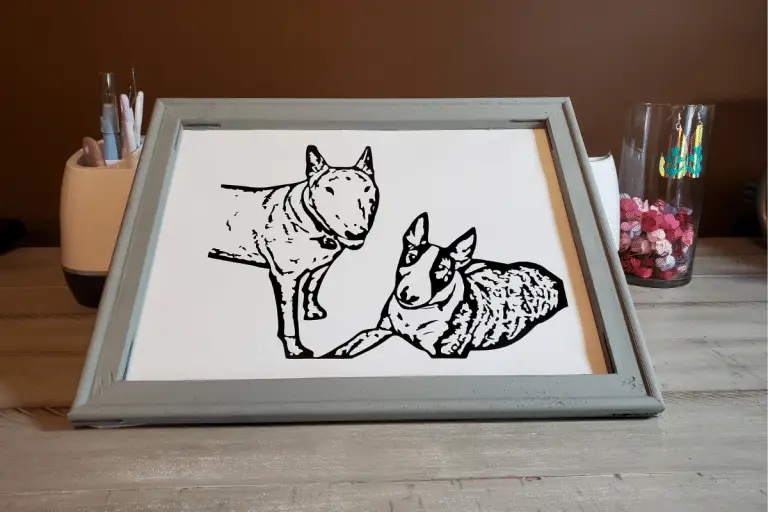
Use a paint brush to apply the aluminum chloride mixture to the wood ornament. I used a small paint brush and applied using a stencil. The stencil is optional, you need to get the aluminum chloride mixture wherever you would like the word to be burned. I created one cut out in Cricut’s Design Space, and used the stencil two ways. The stencil was made out of Cricut’s stencil vinyl and it all worked out great. I covered the areas needed with the mixture with just one coat before moving onto the next phase of actually burning the image into the wooden ornament.
Burning the image into the Christmas Ornament
Remove the stencil (if applicable) from the ornament and put your ornament on a heat proof surface. Turn on the heat gun and use slowly move it over the surface, after a minute or two your design should start to appear, keep going until it looks the way you like. Be careful, the heat gun gets extremely hot!
Finishing Touches
I used mod podge glitter glue as a finishing touch on my ornament, which I think really made it look nice.
I hope this project inspires you to make something handcrafted for the holidays! Looking for a home made gift idea for someone special? Check this out: https://handcraftedhomegrown.com/reverse-canvas/